Table of Contents
DIY Upholstered Headboard Ideas: Create a Stunning Bedroom Makeover
Introduction
Your bedroom is your sanctuary, and one of the easiest ways to transform its look is by adding a DIY upholstered headboard. Whether you’re after a rustic wood style or a plush, modern design, there’s a DIY headboard idea to suit every taste and budget. Not only are they a cost-effective way to spruce up your space, but they’re also highly customizable, allowing you to express your creativity. In this guide, we’ll explore 10 unique headboard ideas, including the popular diy upholstered headboard and chevron headboard DIY, along with several other inspired options.
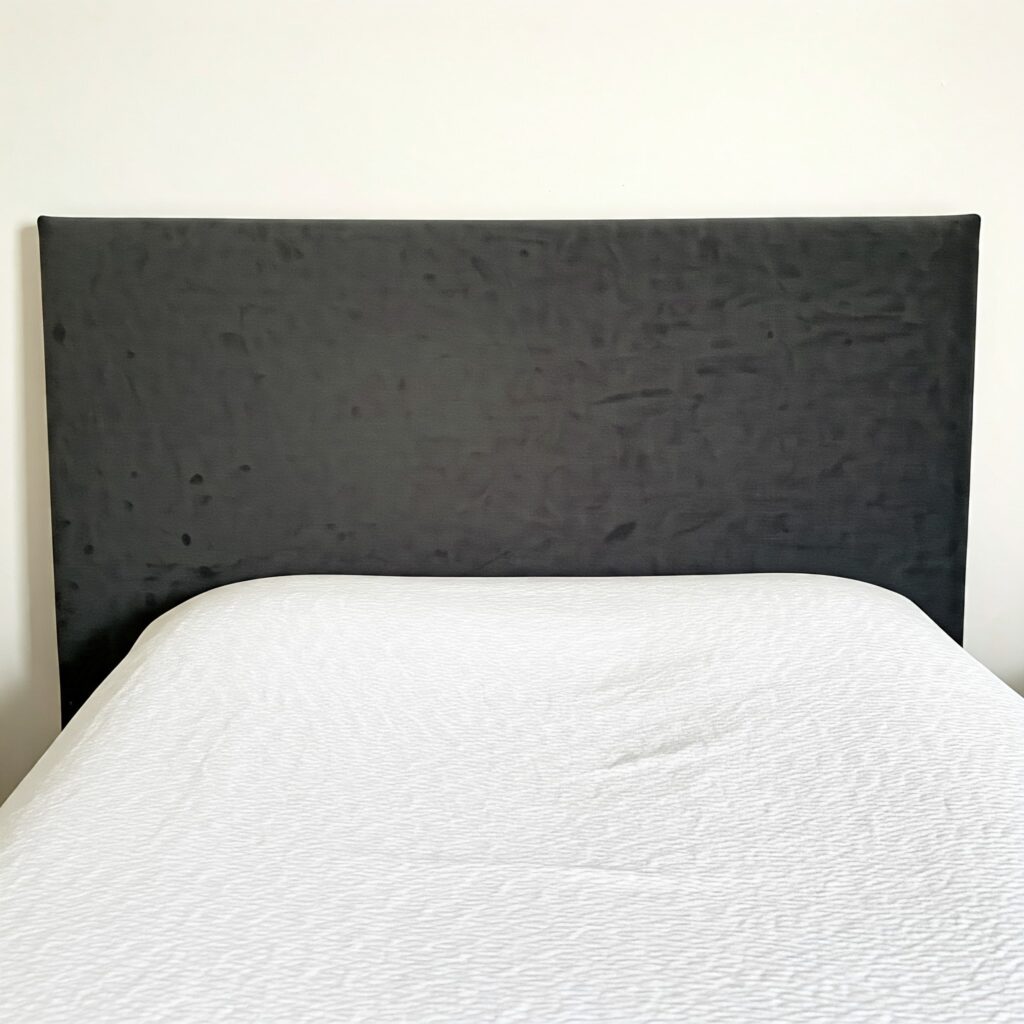
DIY Upholstered Headboard: Stylish and Easy to Make
One of the most popular and timeless options, the DIY upholstered headboard offers a soft and comfortable addition to any bedroom. With just a few materials, including foam, fabric, and a wooden frame, you can create a plush headboard that adds both comfort and elegance to your space. Here’s a quick guide to get you started:
Materials Needed:
- Plywood board
- Foam padding
- Batting
- Upholstery fabric
- Staple gun
- Mounting hardware
Steps:
- Cut the plywood to your desired dimensions.
- Attach foam padding to the plywood using adhesive spray.
- Cover the foam with batting, securing it on the back using a staple gun.
- Wrap the fabric around the front and staple it tightly on the backside.
- Mount your new upholstered headboard on the wall using hardware or directly attach it to the bed frame.
The beauty of a DIY upholstered headboard lies in its customization. You can choose from endless fabric options—velvet, linen, or even faux leather—to match your bedroom’s decor perfectly.
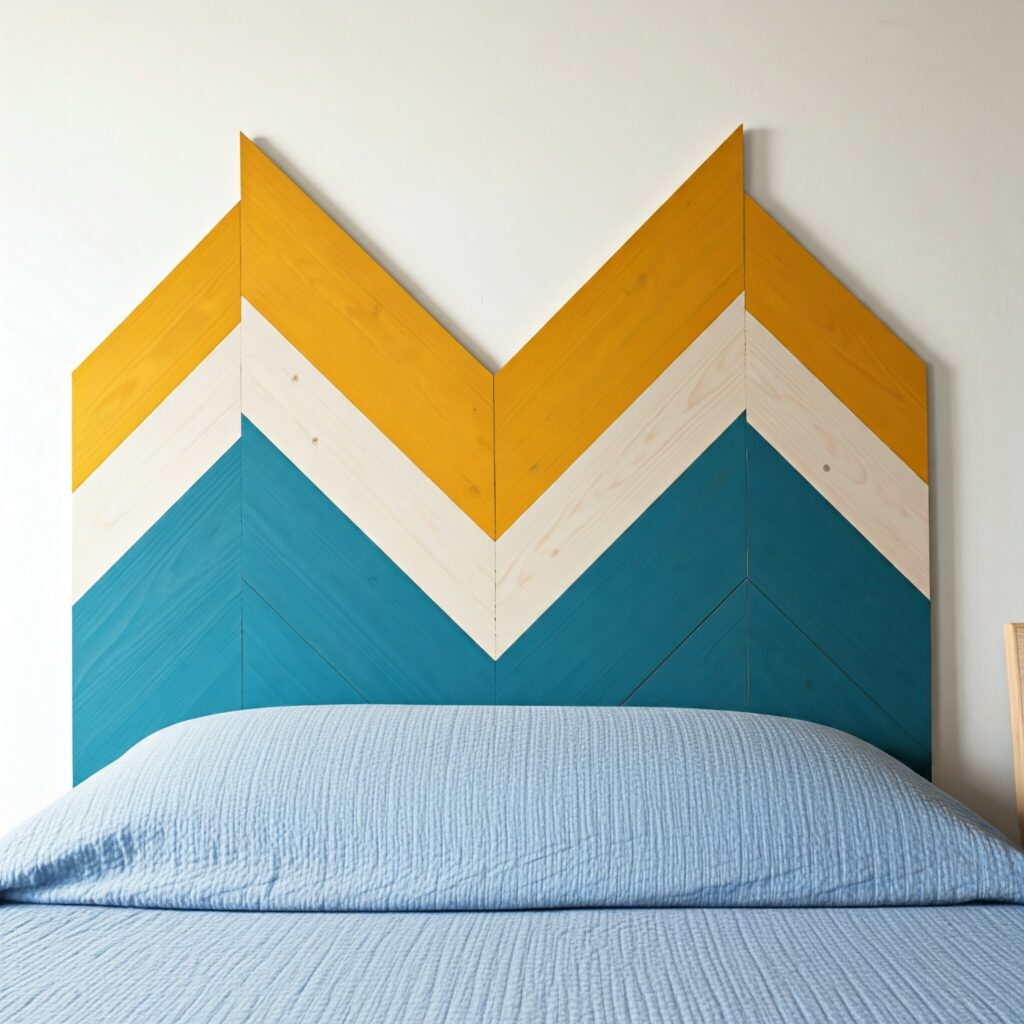
Chevron Headboard DIY: A Modern Twist
The chevron headboard DIY is ideal for those who want a chic, modern pattern in their room. Known for its zig-zag design, the chevron pattern adds a dynamic visual element and pairs well with minimalist decor or bold, colorful rooms.
Materials Needed:
- Wooden slats or reclaimed wood
- Paint or stain
- Glue and nails
- Frame for the headboard
Steps:
- Cut your wooden slats into the desired lengths, forming a chevron pattern on the floor.
- Paint or stain the slats to your preferred color.
- Arrange the slats on a plywood board, and glue or nail them into place.
- Frame the edges for a clean finish.
- Mount the headboard on the wall or attach it to your bed frame.
This chevron headboard DIY works beautifully with different color schemes, and it’s an affordable way to create a high-end look.
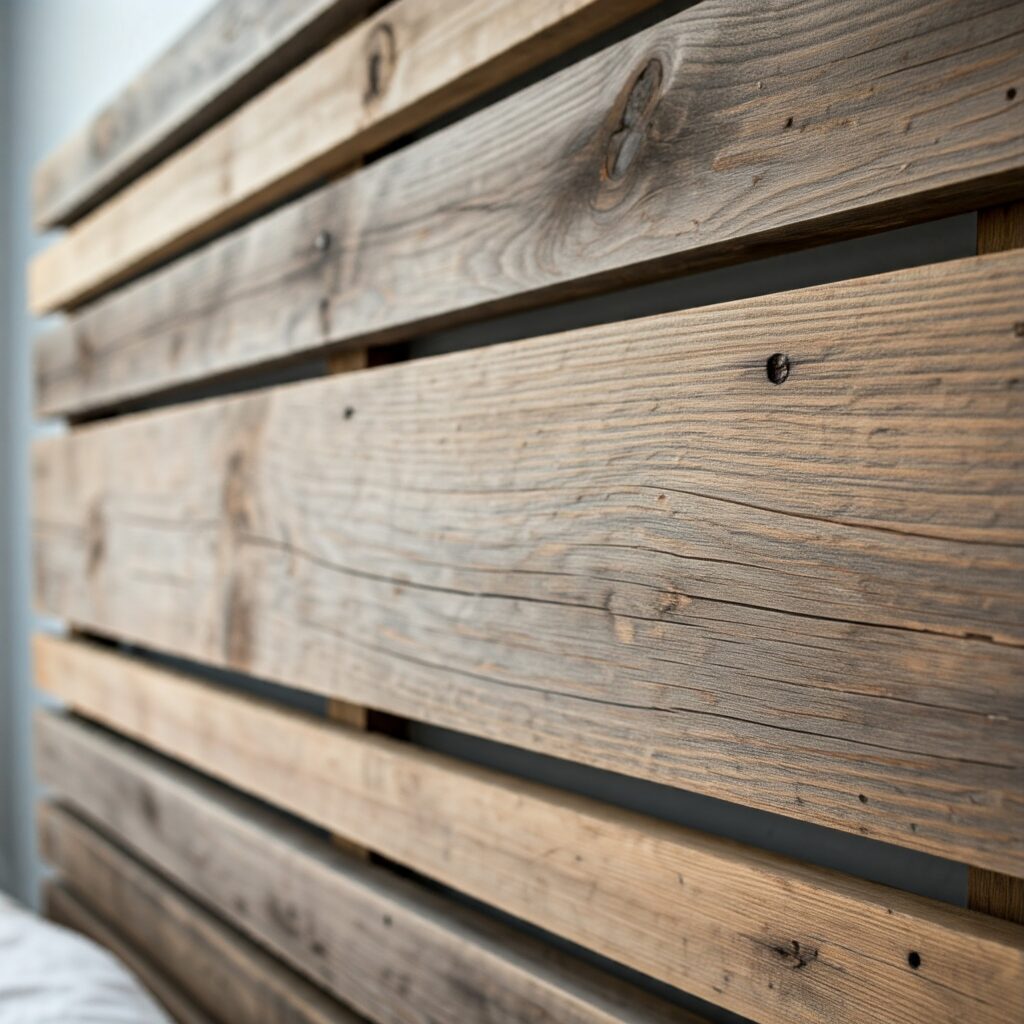
DIY Slatted Headboard: Rustic Meets Contemporary
For those who love the blend of rustic charm and contemporary design, the DIY slatted headboard is a fantastic option. This design involves arranging wooden slats horizontally or vertically, creating a simple yet striking appearance.
Materials Needed:
- Wood slats (pine or oak)
- Stain or paint
- Nails or screws
- Drill and level
Steps:
- Sand and stain your wood slats for a rustic finish.
- Arrange them vertically or horizontally on the wall behind your bed, securing them with nails or screws.
- Make sure to space the slats evenly for a clean and polished look.
- Add optional lighting behind the headboard for an extra layer of ambiance.
The DIY wood slat headboard is versatile and works in various interior styles, from modern farmhouse to industrial chic.
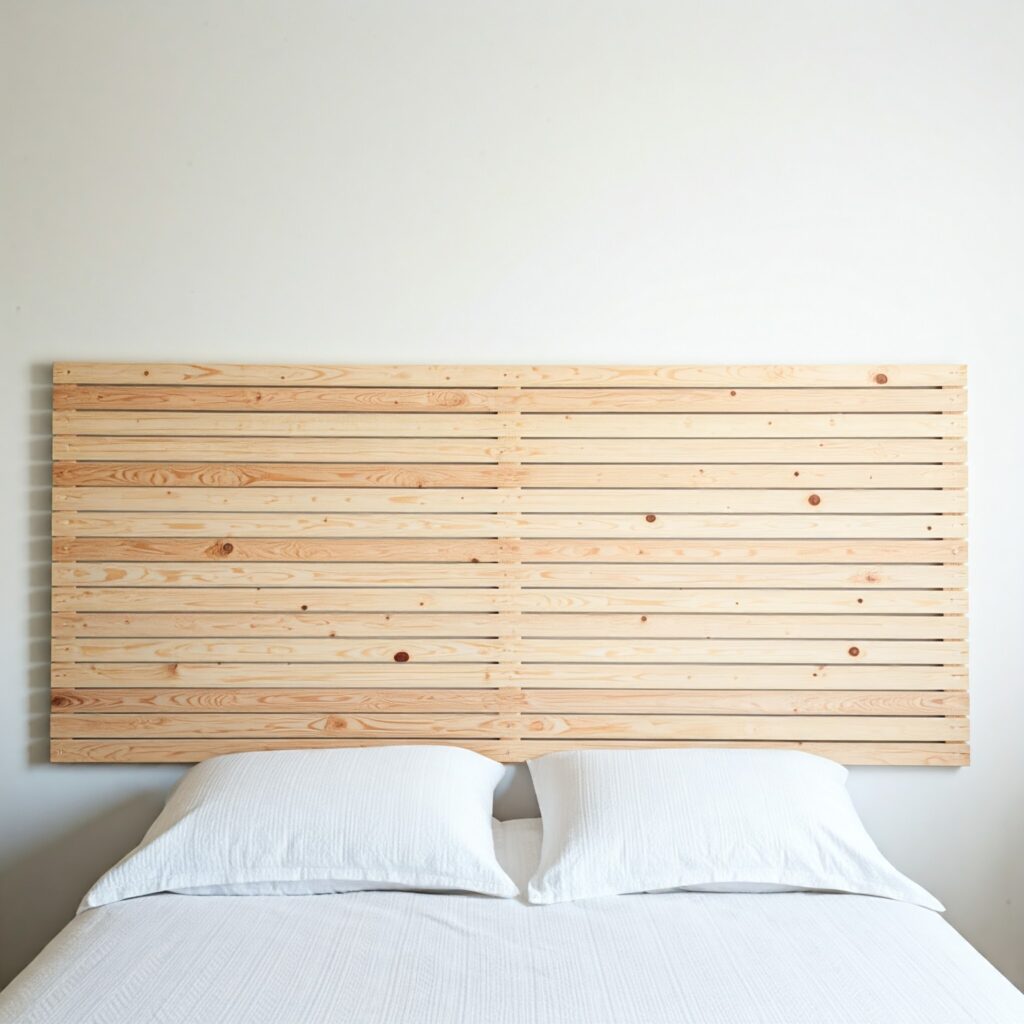
DIY Wooden Slat Headboard: Easy and Eco-Friendly
The DIY wooden slat headboard is perfect for anyone looking for a sustainable and eco-friendly headboard option. Using reclaimed wood or sustainably sourced timber, this headboard can be as simple or elaborate as you wish.
Materials Needed:
- Reclaimed wooden boards
- Sandpaper
- Wood stain or paint
- Screws or nails
Steps:
- Sand and clean the reclaimed wood to remove any rough edges or imperfections.
- Stain or paint the boards if desired.
- Arrange the boards side by side and nail them to a plywood backing.
- Mount the headboard securely to the bed or the wall.
This DIY wooden slat headboard adds a natural, earthy feel to the bedroom while being both budget-friendly and environmentally conscious.
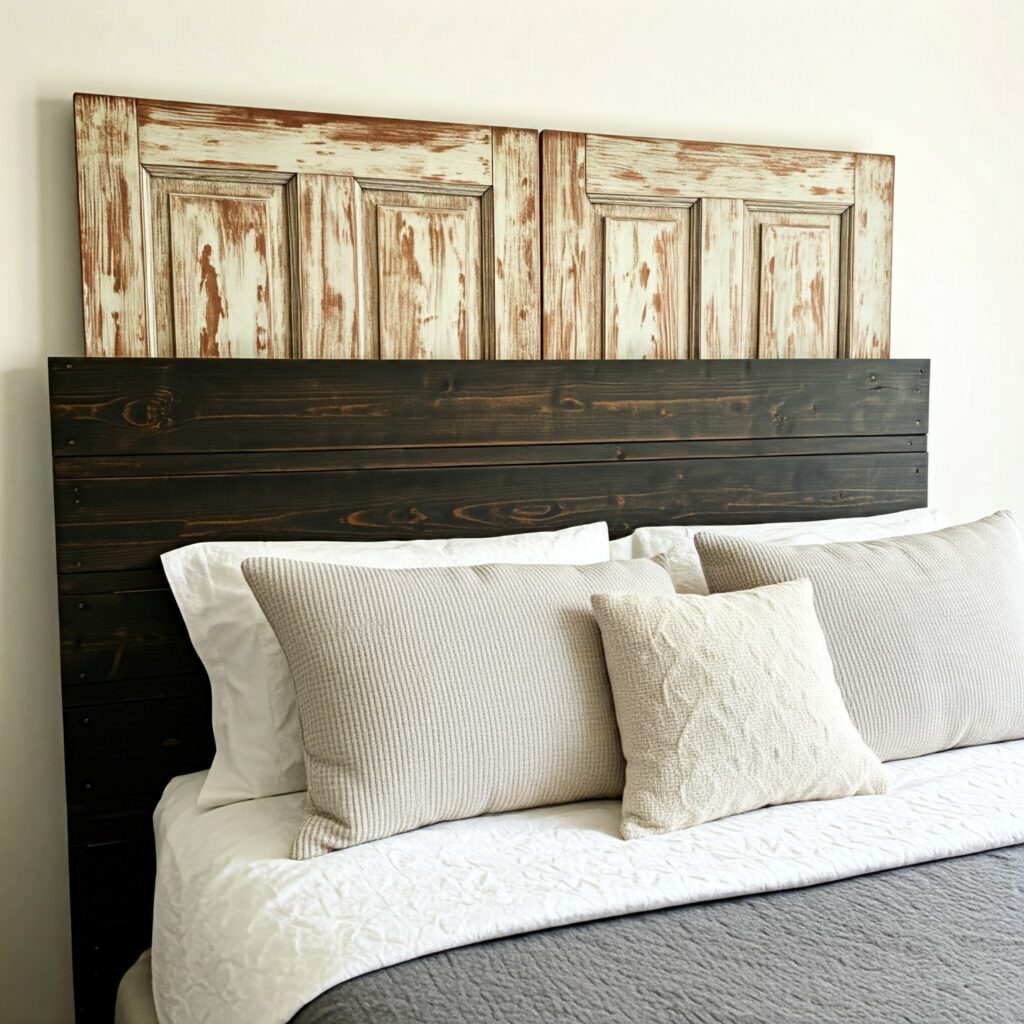
DIY Door Headboard: A Vintage Statement
For those who love upcycling, the DIY door headboard is a fantastic way to give an old door new life. Whether it’s a vintage barn door or an intricately carved wooden door, it makes a bold statement in any room.
Materials Needed:
- An old door (wood or metal)
- Sandpaper and paint
- Mounting hardware
- Wood filler (optional)
Steps:
- Sand and clean the door to remove old paint or imperfections.
- Fill any gaps with wood filler if needed.
- Paint or stain the door to your desired finish.
- Attach it directly to the wall using mounting hardware.
The DIY door headboard offers endless design possibilities and serves as a focal point in your bedroom. It pairs wonderfully with both modern and vintage decor.
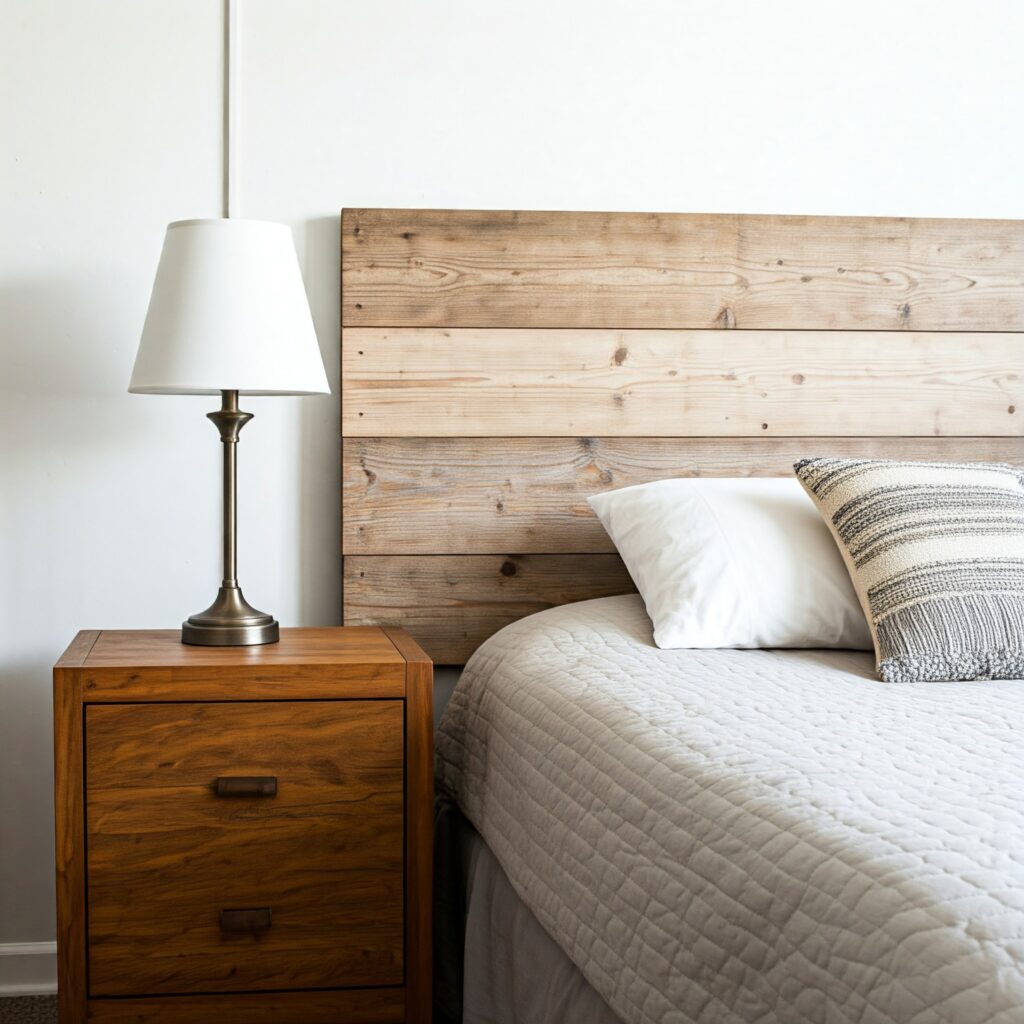
DIY Corner Headboard: Perfect for Small Spaces
The DIY corner headboard is designed for bedrooms with limited space. This unique headboard spans two walls, creating a cozy nook for your bed.
Materials Needed:
- Plywood or reclaimed wood
- Foam padding and fabric (optional)
- Screws and mounting hardware
Steps:
- Measure the corner area and cut plywood to fit along both walls.
- If using padding, follow the same steps as the upholstered headboard to cover the plywood.
- Mount the headboard on both walls, securing it at the corner.
- Add throw pillows for extra comfort.
The DIY corner headboard is both functional and stylish, making the most of your bedroom space while adding a cozy touch.
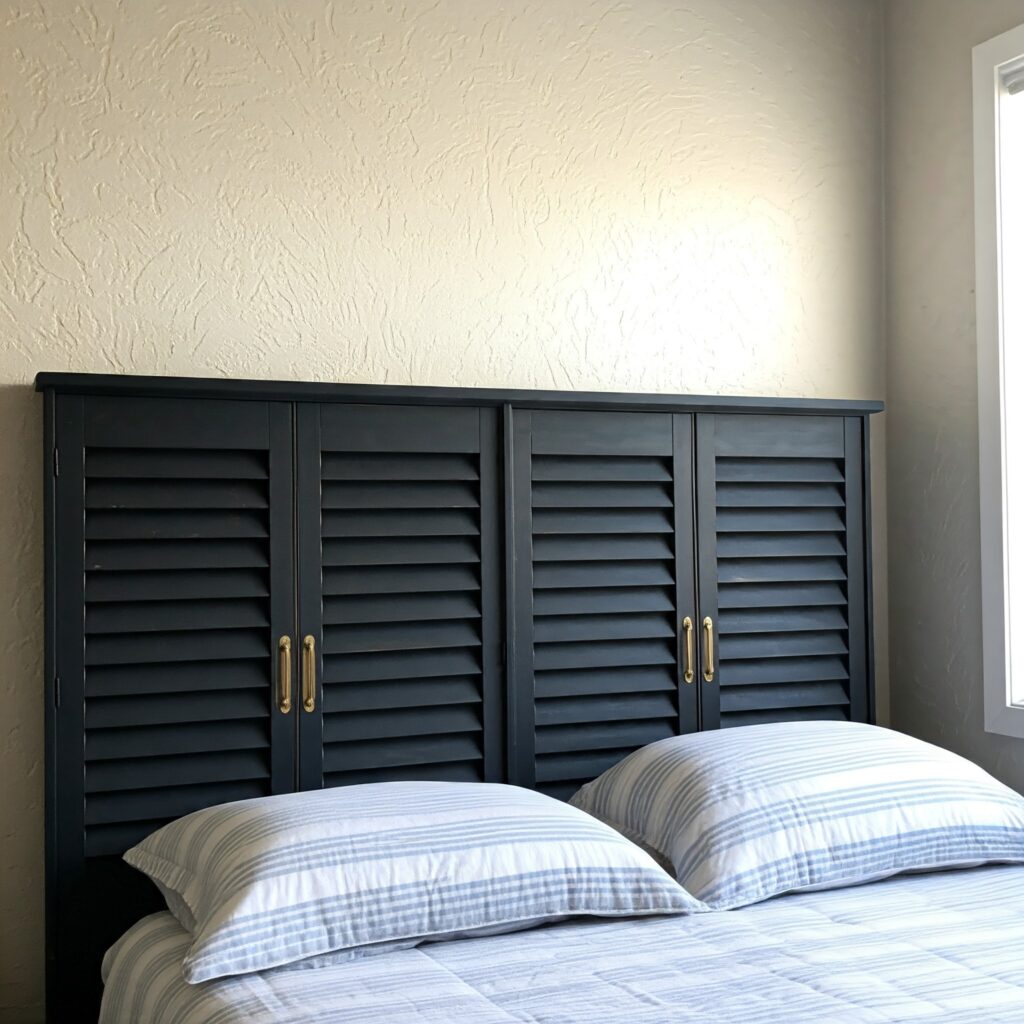
DIY Shutter Headboard: Shabby Chic at Its Best
The DIY shutter headboard is an excellent way to incorporate vintage or farmhouse-style shutters into your bedroom decor. Old wooden shutters can be transformed into a stunning headboard with minimal effort.
Materials Needed:
- Old shutters
- Sandpaper and paint
- Screws and mounting hardware
Steps:
- Clean and sand the shutters to remove any old paint or dirt.
- Paint or stain them to match your room’s decor.
- Arrange the shutters side by side behind your bed.
- Secure the shutters to the wall using screws or mounting hardware.
The DIY shutter headboard is a great way to create a shabby chic look that’s both charming and unique.
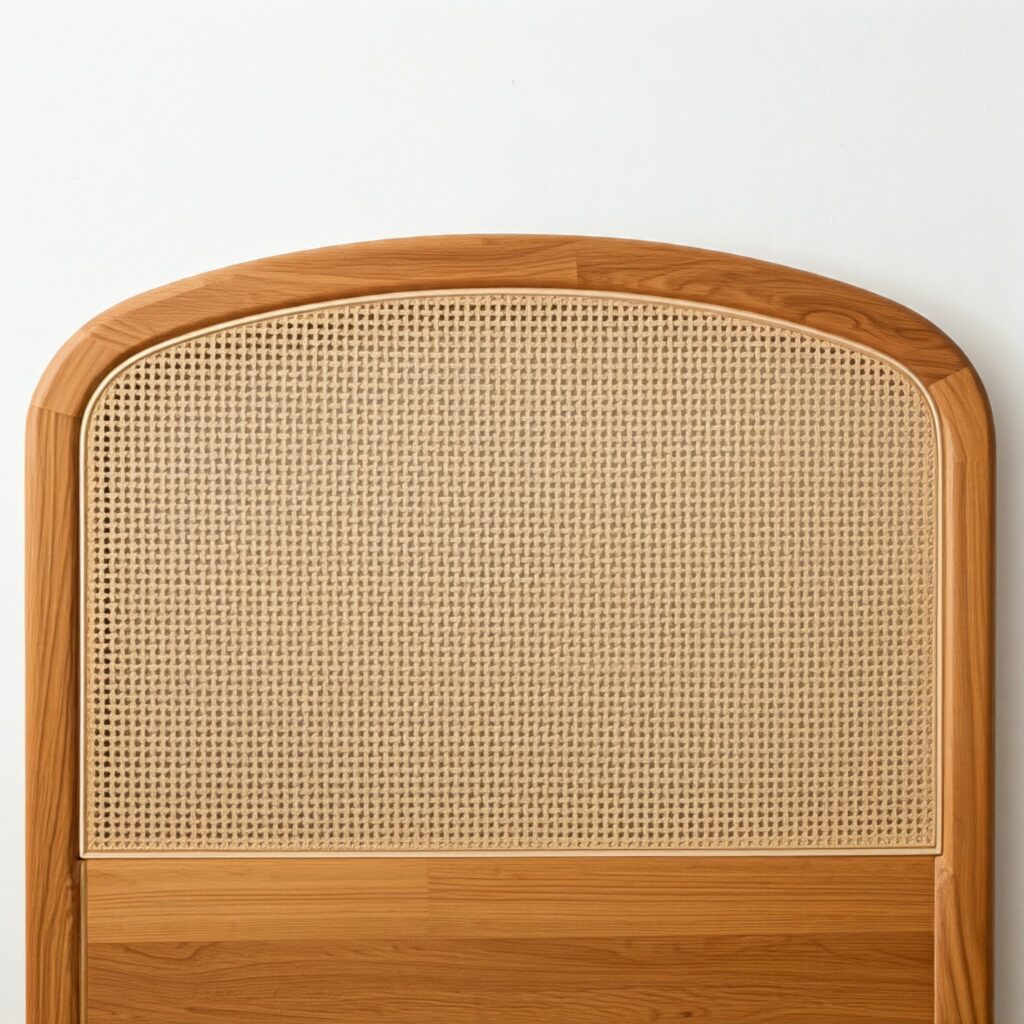
DIY Cane Headboard: Bohemian Vibes
For a bohemian touch, the DIY cane headboard is an excellent choice. This headboard incorporates woven cane material, offering texture and warmth to your bedroom.
Materials Needed:
- Cane webbing
- Wooden frame
- Wood glue and nails
Steps:
- Build a wooden frame to the dimensions of your headboard.
- Stretch the cane webbing across the frame and secure it with wood glue or nails.
- Sand and paint the frame if desired.
- Attach the headboard to the wall or bed frame.
The DIY cane headboard brings a light, airy feel to the room and works beautifully in a coastal or boho-inspired space.
FAQs
What materials do I need to make a DIY upholstered headboard?
You’ll need plywood, foam padding, batting, fabric, a staple gun, and mounting hardware.
How do I attach a DIY headboard to the wall?
You can attach a DIY headboard using screws, a French cleat, or specific mounting brackets designed for headboards.
What’s the easiest DIY headboard design?
The simplest design is the upholstered headboard, which requires minimal woodworking skills and can be completed with fabric, foam, and a staple gun.
Can I use reclaimed wood for a headboard?
Yes, reclaimed wood is an excellent material for creating a rustic or eco-friendly headboard.
How do I clean a DIY upholstered headboard?
Regular vacuuming will remove dust, and spot cleaning with a damp cloth will take care of minor stains.
Is it cheaper to build a DIY headboard or buy one?
Building a DIY headboard is typically much cheaper than buying one, and it allows for complete customization.
Conclusion
Creating a DIY upholstered headboard or any other custom design is a fun and rewarding project that can dramatically transform your bedroom’s appearance. Whether you opt for the sleek lines of a chevron headboard DIY or the rustic charm of a DIY shutter headboard, these projects will give your space a fresh, personalized touch without breaking the bank. So why wait? Start your DIY headboard journey today and create the bedroom of your dreams!


