Are you looking to add a touch of personality and style to your home? A DIY gallery wall might be just what you need to breathe new life into your living space. This comprehensive guide will walk you through everything you need to know about creating a stunning gallery wall that reflects your unique taste and style.
What is a Gallery Wall?
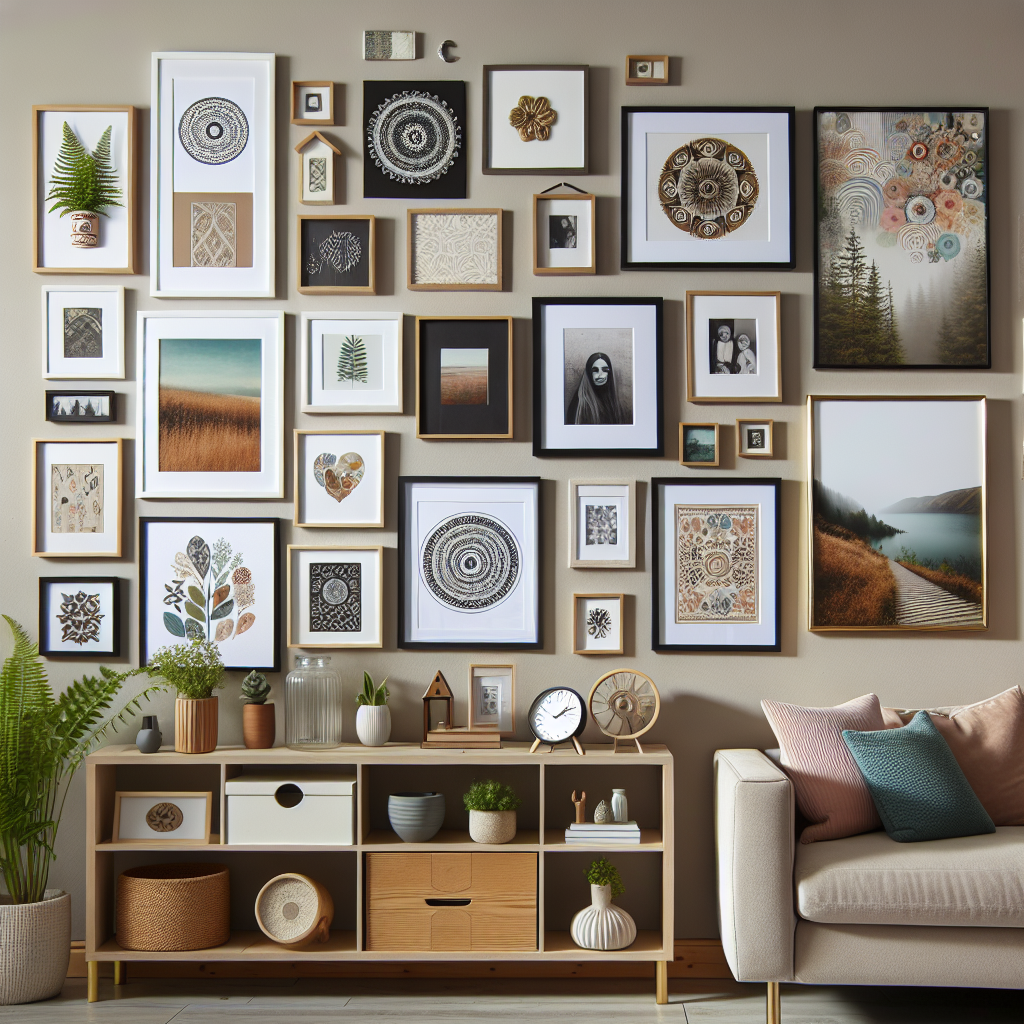
A gallery wall is a curated collection of art pieces, photographs, and other decorative items arranged on a wall to create a visually striking display. It’s a versatile and creative way to showcase your favorite memories, artwork, and objects while adding depth and character to any room in your home.
Why Choose a DIY Gallery Wall?
- Personalization: Create a display that truly reflects your personality and style.
- Cost-effective: Save money by using existing pieces or creating your own art.
- Flexibility: Easily update or rearrange your gallery wall as your tastes change.
- Versatility: Suitable for any room, from living rooms to bedrooms and even kitchens.
- Visual impact: Transform a blank wall into a stunning focal point.
Planning Your DIY Gallery Wall
Step 1: Choose Your Theme
Before you start gathering pieces for your gallery wall, decide on a theme or style. This will help guide your selection process and ensure a cohesive look. Some popular themes include:
- Monochromatic: Using artwork and frames in varying shades of one color
- Eclectic: Mixing different styles, colors, and textures for a vibrant look
- Minimalist: Focusing on clean lines and a limited color palette
- Travel-inspired: Showcasing photos and mementos from your adventures
- Family-focused: Displaying family photos and meaningful keepsakes
Step 2: Select Your Artwork and Frames
Now that you have a theme in mind, it’s time to gather your artwork and frames. Consider including a mix of the following:
- Photographs (personal or professional)
- Paintings or prints
- Sketches or illustrations
- Inspirational quotes or typography
- Mirrors or other decorative objects
- Three-dimensional items (e.g., small sculptures or wall-mounted plants)
When selecting frames, you can either choose matching frames for a uniform look or mix different styles and colors for a more eclectic approach. Don’t be afraid to incorporate non-traditional items like clipboards, vintage trays, or even empty frames for added interest.
Step 3: Plan Your Layout
Before hanging anything on the wall, it’s crucial to plan your layout. Here are some tips to help you create a balanced and visually appealing arrangement:
- Start with the largest piece: Use this as your anchor and build around it.
- Mix sizes and orientations: Combine horizontal and vertical pieces for visual interest.
- Maintain consistent spacing: Keep about 2-3 inches between frames for a cohesive look.
- Create a focal point: Place your most eye-catching piece at eye level in the center.
- Use odd numbers: Groupings of odd-numbered items tend to be more visually pleasing.
- Consider your room’s layout: Ensure your gallery wall complements existing furniture and decor.
To visualize your layout before committing to it, try one of these methods:
- Paper templates: Trace your frames onto kraft paper, cut them out, and tape them to the wall.
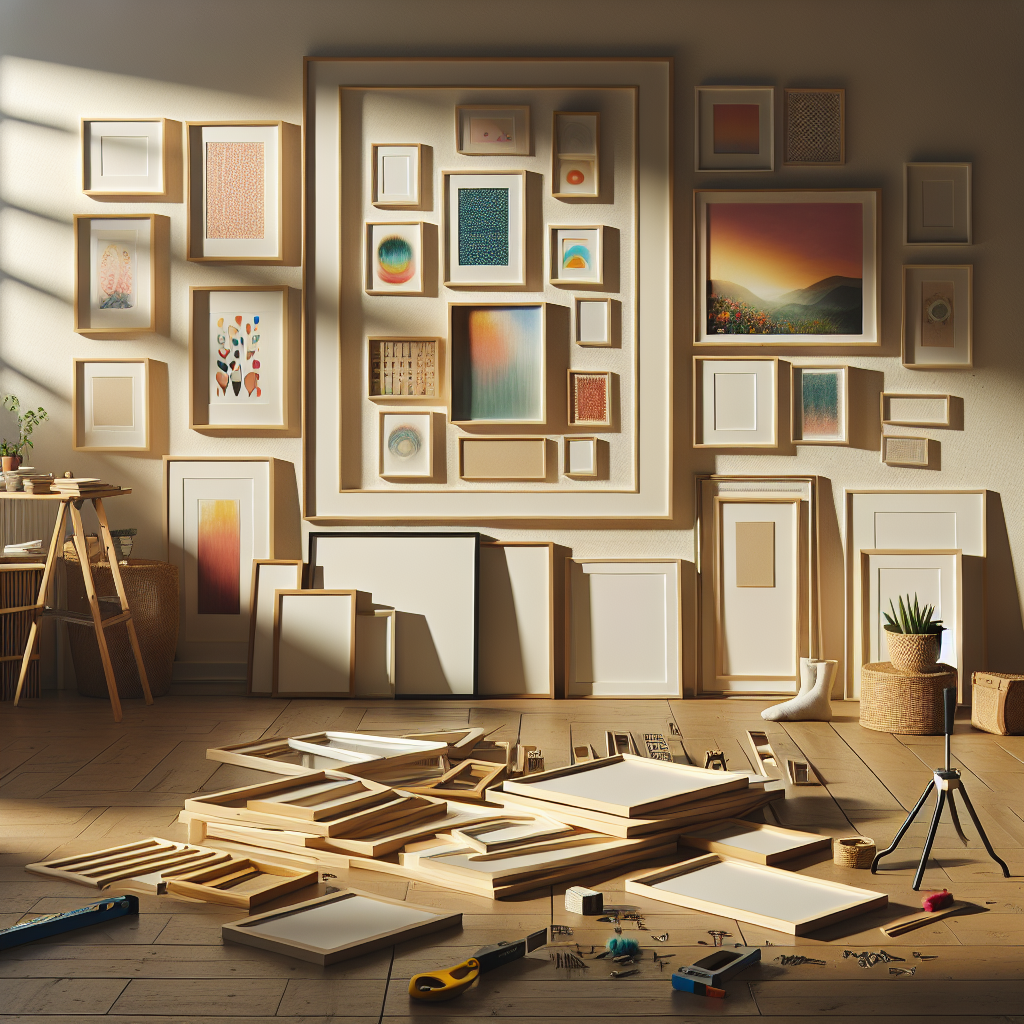
- Floor arrangement: Lay out your pieces on the floor to experiment with different configurations.
- Digital planning: Use a photo editing app or online gallery wall planner to create a virtual mockup.

Creating Your DIY Gallery Wall
Step 1: Gather Your Tools
Before you start hanging your gallery wall, make sure you have the following tools on hand:
- Hammer
- Nails or picture hanging hooks
- Level
- Measuring tape
- Pencil
- Eraser
- Step ladder or sturdy chair
- Command strips (optional for renters or those who prefer not to make holes in the wall)
Step 2: Prepare Your Wall
Start by cleaning your wall surface and making any necessary repairs. If you’re planning to paint, do so before hanging your gallery wall. This will ensure a clean, fresh backdrop for your art display.
Step 3: Begin Hanging
Now comes the exciting part – bringing your gallery wall to life! Follow these steps for a smooth hanging process:
- Start with your center piece or largest item, hanging it at eye level (typically around 57-60 inches from the floor).
- Work outward from this central point, hanging pieces one at a time.
- Use a level to ensure each frame is straight before securing it to the wall.
- Step back frequently to assess the overall look and make adjustments as needed.
- If using paper templates, simply hammer through the paper and into the wall, then tear away the paper once all pieces are hung.
Step 4: Add Finishing Touches
Once all your pieces are hung, take a step back and look at your gallery wall as a whole. Make any final adjustments to ensure everything is level and spaced correctly. You may want to add small decorative elements like washi tape or string lights to enhance the overall look.

Tips for a Successful DIY Gallery Wall
- Don’t rush the process: Take your time selecting pieces and planning your layout.
- Embrace imperfection: A slightly “undone” look can add charm and personality.
- Consider your lighting: Ensure your gallery wall is well-lit to showcase your art effectively.
- Leave room for growth: Allow space to add new pieces over time.
- Balance colors and textures: Mix and match to create visual interest.
- Tell a story: Arrange your pieces in a way that creates a narrative or flow.
- Don’t be afraid to experiment: If something doesn’t work, you can always change it.
Maintaining and Updating Your Gallery Wall
Your DIY gallery wall is a living display that can evolve with your tastes and experiences. Here are some tips for keeping it fresh:
- Rotate seasonal items: Swap out pieces to reflect different holidays or seasons.
- Add new memories: Incorporate recent photos or mementos from new adventures.
- Refresh frames: Give old frames a new look with paint or decorative elements.
- Rearrange periodically: Breathe new life into your display by changing the layout.
Conclusion
Creating a DIY gallery wall is a fun and rewarding project that allows you to express your creativity and personalize your living space. By following this guide, you’ll be well-equipped to design and install a stunning gallery wall that showcases your unique style and cherished memories. Remember, there’s no “right” way to create a gallery wall – the most important thing is that it brings you joy and reflects your personality. So gather your favorite art pieces, grab your hammer, and get ready to transform your blank wall into a beautiful, personalized masterpiece!
FAQ Section
Q1: How many pieces should I include in my gallery wall? A1: The number of pieces depends on the size of your wall and your personal preference. A good rule of thumb is to start with 5-7 pieces for a small wall and 10-15 for a larger wall. You can always add more over time.
Q2: Can I create a gallery wall in a small space? A2: Absolutely! Gallery walls can work in spaces of any size. For smaller areas, consider using smaller frames and maintaining a tight, uniform spacing between pieces.
Q3: Should all my frames match? A3: Not necessarily. While matching frames can create a cohesive look, mixing frame styles and colors can add visual interest. The key is to maintain some element of consistency, whether it’s color palette, theme, or spacing.
Q4: How high should I hang my gallery wall? A4: The center of your gallery wall should be at eye level, typically about 57-60 inches from the floor. This height works well for most people and creates a balanced look.
Q5: Can I create a gallery wall without using nails? A5: Yes, you can use adhesive hooks or command strips for a damage-free installation. This is especially useful for renters or those who prefer not to make holes in their walls.
Q6: How do I incorporate 3D objects into my gallery wall? A6: You can use shadow boxes, floating shelves, or even directly mount objects to the wall. Just make sure they’re securely fastened and complement the overall design of your gallery wall.
Q7: How often should I update my gallery wall? A7: There’s no set rule for updating your gallery wall. Some people like to refresh their display seasonally, while others may make changes only once a year or when they acquire new pieces. It’s entirely up to your personal preference and how often you want to change your decor.
Q8: Can I create a gallery wall on a wallpapered surface? A8: Yes, you can create a gallery wall on wallpaper, but be extra careful when hanging items to avoid damaging the wallpaper. Consider using adhesive hooks or consult with a professional if you’re unsure about the best hanging method for your specific wallpaper.
Q9: How do I ensure my gallery wall looks balanced? A9: Start with your largest piece as an anchor, then build around it. Maintain consistent spacing between items, mix different sizes and orientations, and step back frequently to assess the overall look. Using odd numbers of items and creating a visual triangle with your main pieces can also help achieve balance.
Q10: What if I make a mistake while hanging my gallery wall? A10: Don’t worry! Mistakes happen, and they’re easy to fix. Keep some spackling paste and touch-up paint on hand to cover any unwanted holes. Remember, creating a gallery wall is a process, and it’s okay to make adjustments along the way.


