
Are you looking for a unique and thoughtful gift idea? Or perhaps you want to add a personal touch to your morning coffee routine? Look no further than DIY personalized mugs! In this comprehensive guide, we’ll walk you through everything you need to know about creating your own custom drinkware. From choosing the right materials to mastering various personalization techniques, you’ll become an expert in no time.
Why Choose DIY Personalized Mugs?
- Affordable: Creating your own personalized mugs is often more cost-effective than buying pre-made custom mugs.
- Unique: Your designs will be one-of-a-kind, perfect for gifts or personal use.
- Customizable: Tailor your mugs to fit any occasion, theme, or personal preference.
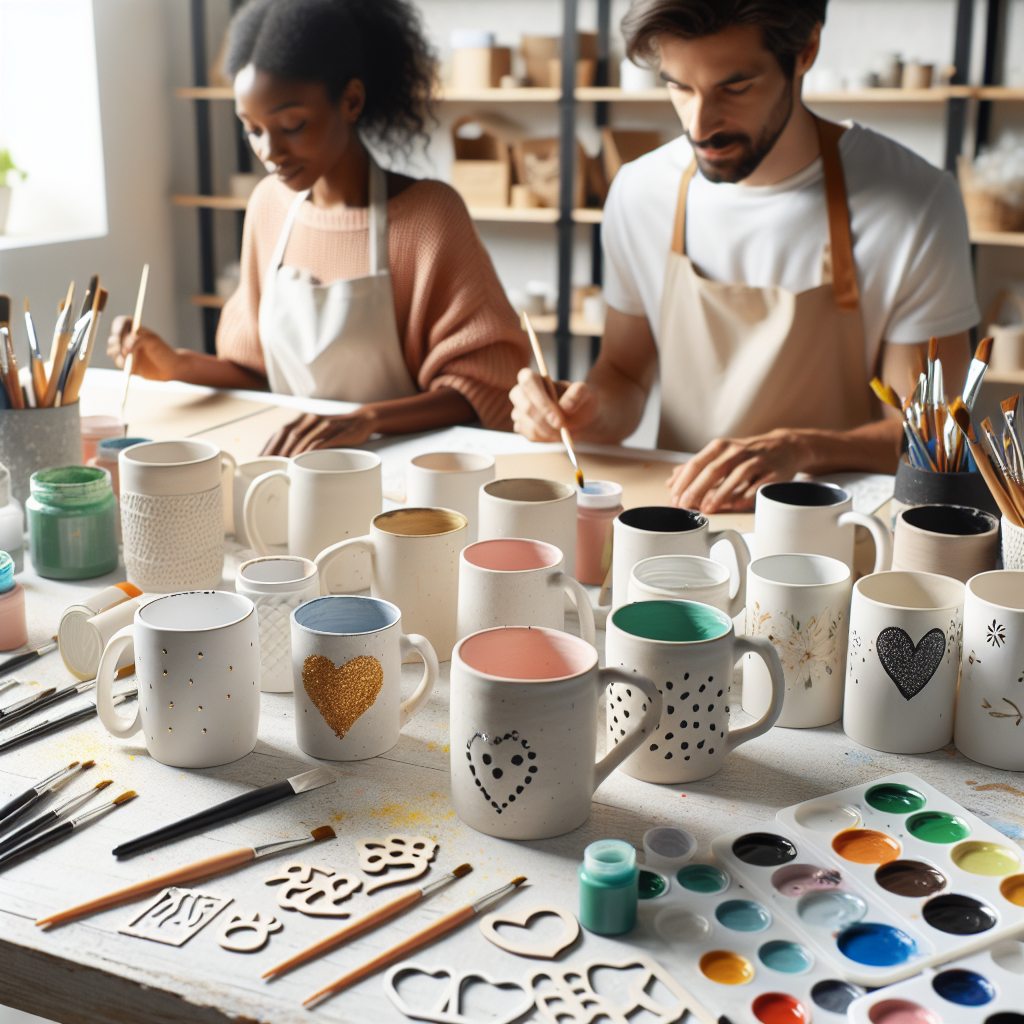
- Fun activity: Enjoy a creative and rewarding DIY project.
- Eco-friendly: Upcycle old mugs or choose sustainable materials for a greener option.
- Personalized gifting: Create meaningful presents for friends and family.
- Express yourself: Showcase your personality or interests through your designs.
The History of Personalized Mugs
Before we dive into the DIY process, let’s take a quick look at the history of personalized drinkware. Customized vessels for beverages have been around for centuries, with ancient civilizations often decorating their drinking cups with personal or cultural symbols.
In more recent history, the souvenir industry popularized personalized mugs in the mid-20th century. Tourists could purchase mugs with their names or vacation destinations printed on them. As technology advanced, so did the methods for personalizing mugs, leading to the wide array of options we have today.
Materials You’ll Need
Before diving into the mug-making process, gather these essential supplies:
- Plain white ceramic mugs (or any color you prefer)
- Oil-based paint markers or ceramic paint
- Rubbing alcohol
- Cotton swabs or lint-free cloth
- Stencils (optional)
- Oven (for heat-setting)
- Painter’s tape (for creating clean lines)
- Clear acrylic sealer (optional, for added protection)
- Gloves (to protect your hands from paint)
- Newspaper or drop cloth (to protect your work surface)
Choosing the Right Mug
The foundation of your project is the mug itself. Here are some factors to consider when selecting your base mug:
- Material: Ceramic is the most common and easiest to work with, but you can also use porcelain or glass.
- Shape: Consider the mug’s shape and how it will affect your design. Straight sides are easier to work with than curved surfaces.
- Size: Choose a size appropriate for your intended use or recipient’s preference.
- Color: White mugs are versatile, but don’t be afraid to experiment with colored mugs for unique effects.
- Quality: Invest in good quality mugs for better paint adhesion and longevity.
Step-by-Step Guide to Making Personalized Mugs
1. Prepare Your Mug
Start with a clean canvas by wiping down your mug with rubbing alcohol. This removes any oils or residue that might interfere with the paint adhesion. Make sure to wear gloves during this process to avoid transferring oils from your hands to the mug surface.
2. Plan Your Design
Sketch out your design on paper first. This helps you visualize the final product and avoid mistakes. Consider the mug’s shape and how your design will wrap around it. You can also use design software to create more complex patterns or text layouts.
3. Apply Your Design
Use oil-based paint markers or ceramic paint to create your design. If you’re not confident in your freehand skills, use stencils for crisp, professional-looking results. Here are some techniques to try:
- Freehand drawing: Great for artistic designs or hand-lettering
- Stenciling: Perfect for intricate patterns or consistent text
- Stamping: Use rubber stamps with ceramic ink for repeating patterns
- Sponging: Create textured backgrounds or abstract designs
- Marbling: Swirl multiple colors for a unique, organic look
Remember to work in thin layers, allowing each layer to dry before adding more details.
4. Let It Dry
Allow the paint to dry completely. This usually takes about 24 hours. Avoid touching or smudging the design during this time. If you’re in a hurry, you can use a hair dryer on a low, cool setting to speed up the drying process, but be careful not to overheat the paint.
5. Heat-Set Your Design
To make your design dishwasher-safe and long-lasting, you need to heat-set it. Here’s how:
- Place the mug in a cold oven.
- Set the temperature to 350°F (175°C).
- Once the oven reaches the desired temperature, bake the mug for 30 minutes.
- Turn off the oven and let the mug cool completely inside. This gradual cooling prevents cracking.
6. Apply a Sealant (Optional)
For extra protection, especially if your mug will see frequent use, consider applying a food-safe clear acrylic sealer. This adds an extra layer of durability to your design.
Creative Ideas for Personalized Mugs
- Monogrammed mugs: Perfect for weddings or housewarming gifts
- Quote mugs: Inspirational sayings or inside jokes
- Hand-painted landscapes or patterns: Showcase your artistic skills
- Family portrait mugs: A unique way to capture memories
- Pet-inspired designs: Great for animal lovers
- Holiday-themed mugs: Create a set for each season
- Zodiac sign mugs: Personalized astrological designs
- Travel-inspired mugs: Feature favorite destinations or bucket list locations
- Profession-themed mugs: Celebrate career milestones or work passions
- Recipe mugs: Write down a favorite recipe for a practical and personal touch
- Doodle mugs: Let kids create their own designs for grandparents
- Faux chalkboard mugs: Use white paint on black mugs for a trendy look
- Geometric patterns: Create modern designs with tape and paint
- Ombre effect: Blend colors for a gradient look
- Fingerprint art: Turn fingerprints into cute characters or scenes
Advanced Techniques for Personalized Mugs
Once you’ve mastered the basics, try these advanced techniques:
1. Etching
Use etching cream to create frosted designs on glass or ceramic mugs. This technique is perfect for subtle, elegant designs.
2. Sublimation
This process uses heat to transfer dye onto specially coated mugs. It’s great for photorealistic designs but requires specific equipment.
3. Vinyl Decals
Create intricate designs with a cutting machine and apply them to your mug before painting or as a standalone decoration.
4. Gold Leaf
Add a touch of luxury by incorporating gold leaf into your designs. This works well for accents or delicate patterns.
5. 3D Paint Effects
Use puff paint or dimensional paint to create raised designs that add texture to your mug.
Tips for Success
- Use high-quality materials for best results
- Practice your design on paper before applying it to the mug
- Work in a well-ventilated area when using paint markers
- Allow ample drying time between coats of paint
- Hand-wash your personalized mugs to extend their lifespan
- Experiment with different brush types for various effects
- Use painter’s tape to create clean lines and geometric shapes
- Keep a damp cloth nearby to quickly wipe away mistakes
- Invest in a lazy susan to easily rotate your mug while painting
- Consider the mug’s functionality when placing your design (e.g., avoid painting where lips will touch)
Troubleshooting Common Issues
- Paint peeling: Ensure the mug is clean before painting and properly heat-set the design.
- Smudged designs: Allow adequate drying time between layers and avoid handling the mug too much during the process.
- Faded colors: Use high-quality, ceramic-specific paints and markers for vibrant, long-lasting results.
- Uneven lines: Practice steady hand movements or use stencils and tape for precise lines.
- Bubbling paint: Apply thin layers and avoid overheating during the curing process.
Caring for Your Personalized Mugs
To ensure your custom creations last as long as possible:
- Hand-wash when possible, using mild soap and a soft sponge
- Avoid soaking the mug for extended periods
- Don’t use abrasive scrubbers or harsh cleaning chemicals
- Keep away from extreme temperature changes
- Store mugs upright to prevent scratches on the design
- Touch up any chips or wear with matching paint as needed
The Business of Personalized Mugs
If you’ve fallen in love with creating personalized mugs, you might consider turning your hobby into a business. Here are some tips to get started:
- Develop a unique style or niche
- Set up an online shop on platforms like Etsy or Shopify
- Create a portfolio of your best designs
- Offer customization options for customers
- Price your mugs competitively while ensuring profitability
- Use social media to showcase your work and attract customers
- Consider local craft fairs or markets to sell your mugs in person
Environmental Considerations
As crafters, it’s important to consider the environmental impact of our projects. Here are some ways to make your mug personalization more eco-friendly:
- Upcycle second-hand mugs instead of buying new ones
- Choose non-toxic, water-based paints when possible
- Properly dispose of any chemical waste (like paint)
- Use recycled packaging materials when selling or gifting mugs
- Encourage mug recipients to use them instead of disposable cups
FAQ
Q: Are DIY personalized mugs dishwasher-safe? A: If you heat-set your design as instructed, they should be dishwasher-safe. However, hand-washing is recommended for longevity.
Q: Can I use regular markers instead of paint markers? A: Regular markers won’t adhere properly to ceramic and will wash off. Stick to oil-based paint markers or ceramic paint for best results.
Q: How long do personalized mugs last? A: With proper care, your DIY personalized mugs can last for years. Avoid abrasive scrubbing and extreme temperature changes to preserve the design.
Q: Can I personalize mugs that aren’t white? A: Yes, but lighter colors work best. Dark-colored mugs may require special paint or techniques for the design to show up clearly.
Q: What if I make a mistake while painting? A: If the paint is still wet, quickly wipe it off with rubbing alcohol. For dry paint, you may need to sand it off gently or start over with a new mug.
Q: Can I use my personalized mugs for hot beverages? A: Yes, once properly heat-set, your mugs should be safe for hot beverages. However, avoid microwaving mugs with metallic paint or decals.
Q: How can I make my designs more durable? A: Use high-quality paints, properly heat-set your design, and consider applying a food-safe sealant for extra protection.
Q: Can I paint the inside of the mug? A: It’s best to avoid painting areas that will come into direct contact with food or drink. Focus on decorating the exterior and rim of the mug.
Q: How do I know if my paint is food-safe? A: Look for paints specifically labeled as food-safe or non-toxic. If in doubt, contact the manufacturer or avoid painting areas that touch food or drink.
Q: Can I use these techniques on other ceramics? A: Yes, these methods can be applied to plates, bowls, and other ceramic items. Just ensure you’re using appropriate materials for each surface.
Conclusion
Creating DIY personalized mugs is a fun, rewarding, and cost-effective way to add a personal touch to your drinkware collection or create memorable gifts. With the right materials and techniques, you can design beautiful, long-lasting mugs that reflect your unique style and creativity.
Whether you’re making a special gift for a loved one, starting a small business, or simply expressing your artistic side, personalized mugs offer endless possibilities. Remember to experiment with different techniques, let your imagination run wild, and most importantly, enjoy the creative process.
So grab your supplies and start crafting – your perfect personalized mug awaits! Who knows? This could be the beginning of a new passion or even a successful business venture. Happy mug making!

