Table of Contents
Raised garden beds are an excellent way to cultivate a garden, particularly if you’re looking to maximize space, improve soil conditions, and enhance the aesthetics of your outdoor area. Whether you’re a seasoned gardener or just starting, building your own DIY raised garden bed can be a rewarding project. This guide will walk you through various options, from classic DIY raised cedar garden beds to more innovative designs like DIY raised garden beds with corrugated metal and DIY concrete raised garden beds.
Benefits of DIY Raised Garden Beds
Enhanced Soil Control
One of the primary advantages of raised garden beds is the ability to control the soil quality. Unlike traditional in-ground gardens, where soil can be rocky, clay-heavy, or nutrient-poor, raised beds allow you to fill the space with high-quality soil. This is particularly beneficial in areas with poor natural soil conditions.
Improved Drainage
Raised garden beds offer superior drainage compared to in-ground gardens. Waterlogged soil can be detrimental to plant health, causing root rot and other issues. With raised beds, excess water drains away easily, keeping the soil at an optimal moisture level for plant growth.
Easier Access and Maintenance
Gardening can be hard on the knees and back, but raised beds make it easier. The elevated height reduces the need for bending and stooping, making planting, weeding, and harvesting more accessible and less strenuous.
Pest and Weed Control
Raised beds can help keep pests at bay. The elevation makes it more difficult for certain pests to reach your plants, and you can easily add barriers like hardware cloth to the base to prevent burrowing animals from getting in. Additionally, raised beds are easier to weed, and the concentrated space allows for more effective use of mulch to suppress weed growth.
DIY Raised Cedar Garden Beds
Why Choose Cedar?
Cedar is a popular choice for raised garden beds due to its natural resistance to rot and insect damage. It’s a durable wood that can withstand the elements, making it ideal for outdoor projects. Additionally, cedar has a beautiful natural color that complements any garden.
Materials Needed
To build a DIY raised cedar garden bed, you’ll need the following materials:
- Cedar boards (2×6 or 2×8 are common sizes)
- Galvanized screws or nails
- Power drill or hammer
- Level
- Measuring tape
- Landscape fabric (optional)
Step-by-Step Instructions
- Determine the Size and Location: Choose a sunny spot in your garden and measure out the desired dimensions of your bed. Common sizes include 4×8 feet, which allows for easy access from all sides.
- Cut the Cedar Boards: Cut the cedar boards to the desired lengths for the sides of the bed. If you’re building a 4×8 foot bed, you’ll need two 4-foot boards and two 8-foot boards.
- Assemble the Frame: Using galvanized screws or nails, attach the boards together at the corners to form a rectangular frame. Ensure the corners are square using a level.
- Prepare the Ground: Clear the area where your bed will be placed, removing any grass or weeds. You can lay down landscape fabric to prevent weeds from growing up into your bed.
- Fill with Soil: Once the frame is in place, fill the bed with high-quality soil. A mix of compost, peat moss, and vermiculite or perlite is recommended for most plants.
- Plant Your Garden: Now that your bed is ready, it’s time to plant! Choose your favorite vegetables, herbs, or flowers, and enjoy the fruits of your labor.
DIY Raised Garden Beds with Corrugated Metal

Why Use Corrugated Metal?
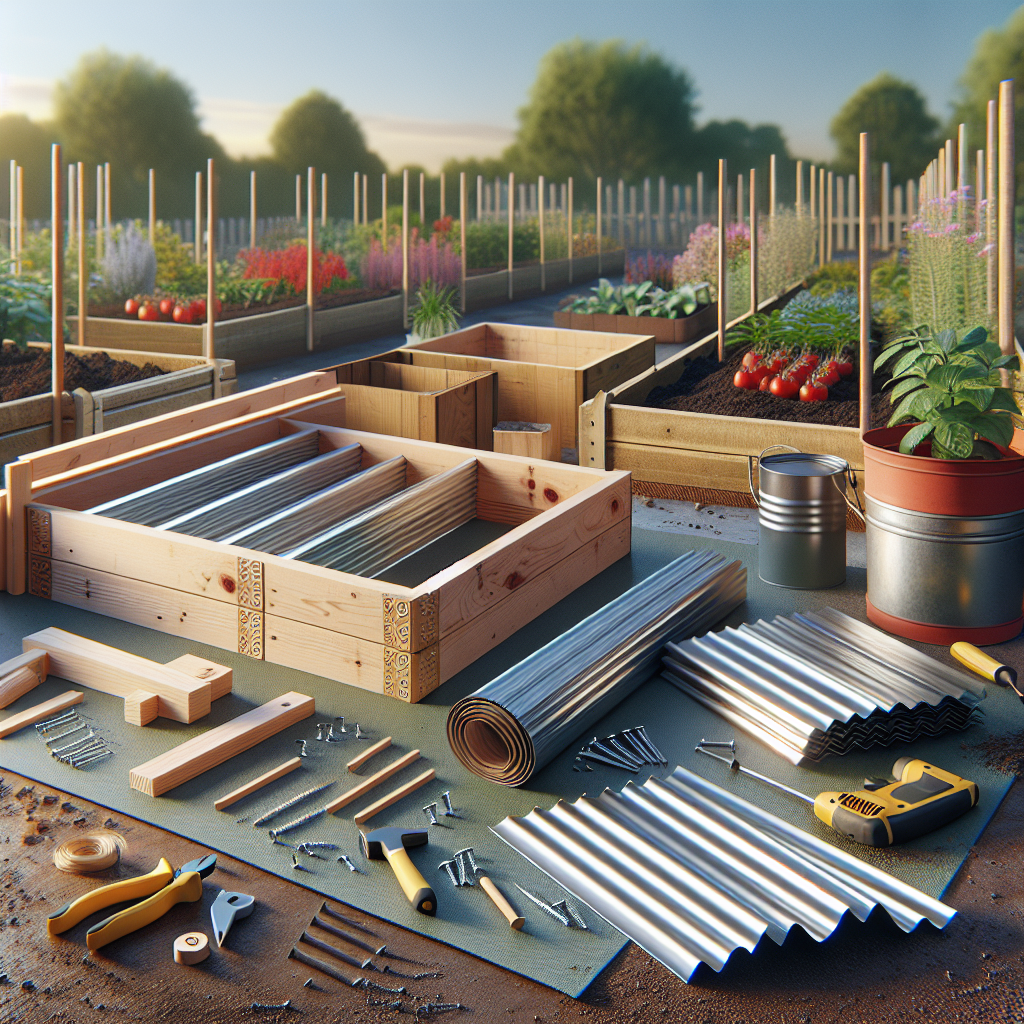
Corrugated metal is a stylish and durable option for raised garden beds. It’s lightweight, rust-resistant (especially if you use galvanized steel), and adds a modern, industrial look to your garden. Additionally, the reflective surface can help keep the soil warm, extending your growing season.
Materials Needed
To build a DIY raised garden bed with corrugated metal, you’ll need:
- Corrugated metal sheets
- Pressure-treated wood for the frame (2×4 or 4×4 posts)
- Galvanized screws
- Power drill
- Tin snips (for cutting metal)
- Safety gloves and goggles
Step-by-Step Instructions
- Design the Bed: Decide on the size and shape of your bed. Corrugated metal is flexible, allowing for creative shapes like circular or oval beds in addition to traditional rectangular ones.
- Cut the Metal Sheets: Using tin snips, carefully cut the corrugated metal sheets to the desired height. Wear safety gloves and goggles to protect yourself from sharp edges.
- Build the Wooden Frame: Assemble the wooden frame using pressure-treated wood. Attach the metal sheets to the inside of the frame using galvanized screws, ensuring the metal is securely fastened.
- Install the Bed: Place the frame in your chosen location. Like with the cedar bed, clear the ground of any grass or weeds and consider using landscape fabric as a weed barrier.
- Fill with Soil and Plant: Fill the bed with soil, making sure to leave a few inches at the top to prevent overflow when watering. Plant your seeds or seedlings and enjoy your new garden bed.
DIY Concrete Raised Garden Bed

Why Use Concrete?
Concrete is a durable, long-lasting material that can withstand extreme weather conditions. It’s also versatile, allowing you to create beds of various shapes and sizes. Concrete beds are particularly useful for permanent installations and can be customized with different finishes or colors.
Materials Needed
For a DIY concrete raised garden bed, gather the following:
- Concrete blocks or concrete mix
- Rebar (for reinforcement)
- Concrete adhesive (if using blocks)
- Trowel
- Level
- Measuring tape
- Wheelbarrow (for mixing concrete)
Step-by-Step Instructions
- Plan Your Bed: Determine the dimensions and shape of your bed. Concrete beds can be straight or curved, and you can stack blocks to achieve the desired height.
- Prepare the Ground: As with other types of beds, clear the area of any grass or debris. Mark the outline of the bed with stakes and string.
- Lay the Foundation: If using concrete blocks, start by laying a solid foundation. Use rebar to reinforce the structure, ensuring stability. If pouring a concrete form, build a mold with wooden boards and pour the concrete, allowing it to set before removing the mold.
- Build the Walls: Stack the concrete blocks or pour additional layers of concrete to reach the desired height. Use a level to ensure each layer is even.
- Fill with Soil: Once the concrete is set and the walls are complete, fill the bed with soil. Your concrete raised bed is now ready for planting.
DIY Metal Raised Garden Beds

Benefits of Metal Garden Beds
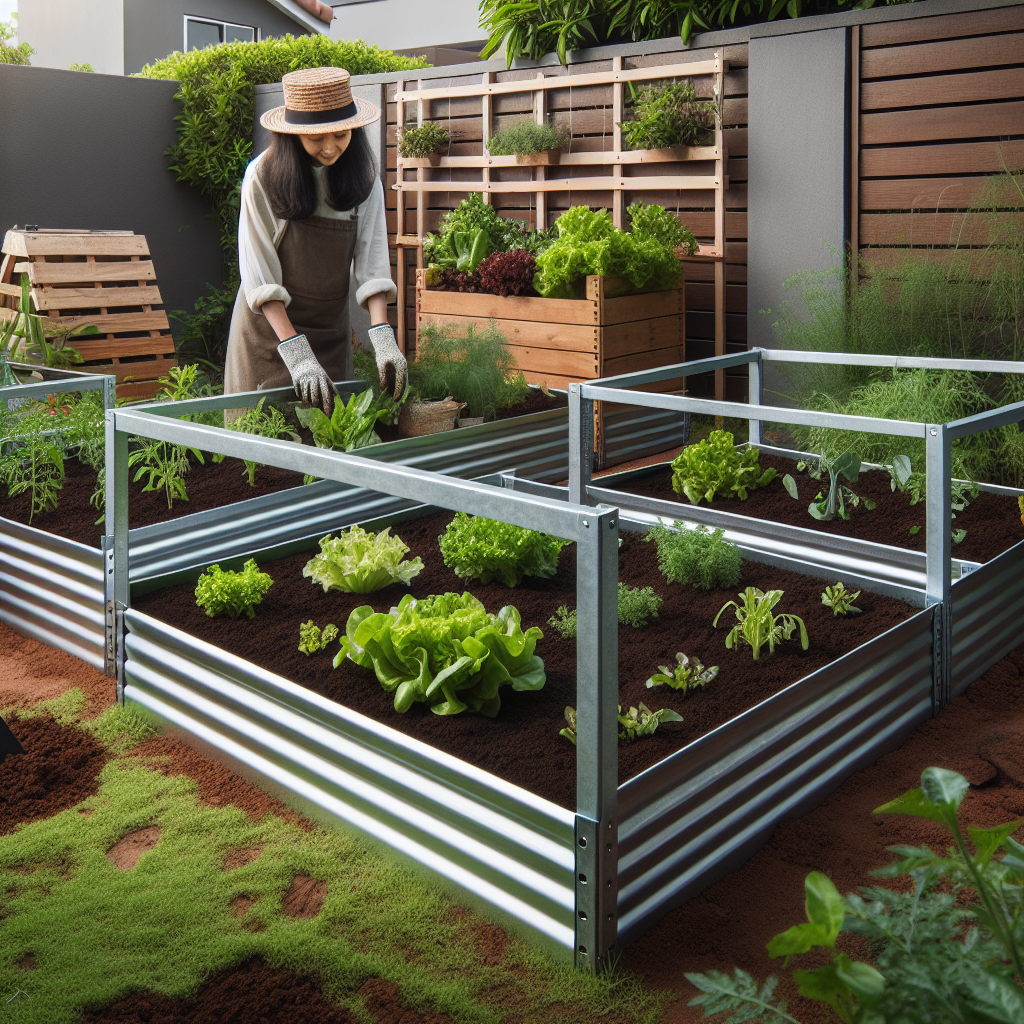
Metal garden beds, particularly those made from galvanized steel, are incredibly durable and resistant to rot, pests, and weather damage. They also offer a modern aesthetic and can be painted to match your garden’s color scheme.
Materials Needed
To create a galvanized steel raised garden bed, you’ll need:
- Galvanized steel sheets
- Wood or metal posts for framing
- Galvanized screws
- Power drill
- Metal snips
Step-by-Step Instructions
- Measure and Cut the Steel Sheets: Determine the size of your bed and cut the galvanized steel sheets accordingly. Metal snips will help you achieve clean, straight edges.
- Assemble the Frame: If using wood, build a simple frame to hold the steel sheets in place. Attach the steel sheets to the inside of the frame using galvanized screws.
- Secure the Bed: Place the bed in your chosen location, ensuring it’s level. Fill the bed with high-quality soil, leaving space at the top.
- Plant and Maintain: With the bed filled, you can start planting. Metal beds can get hot in direct sunlight, so be mindful of watering needs, especially during hot weather.
DIY Stone Raised Garden Bed

Aesthetic and Functional Appeal
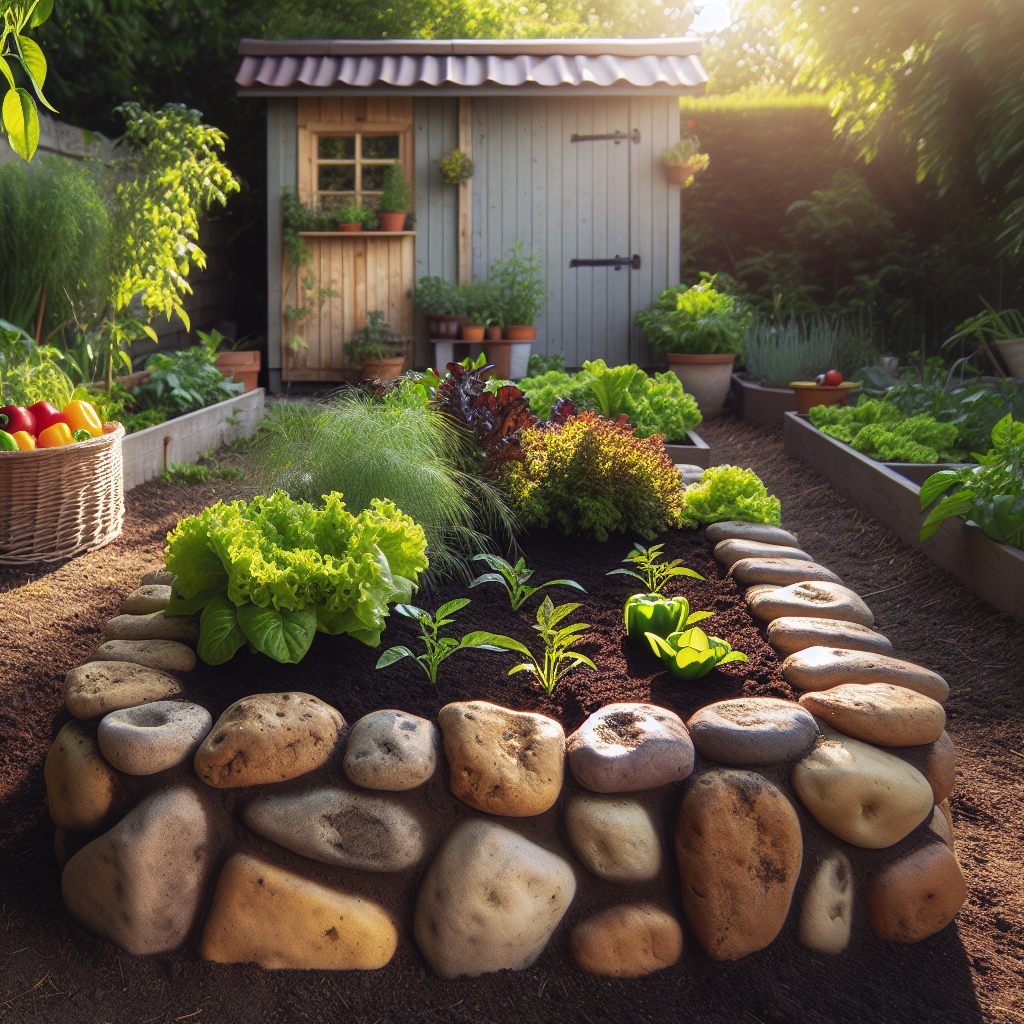
Stone raised garden beds are not only visually appealing but also extremely durable. They blend seamlessly into natural landscapes and can be built to match other stone features in your garden.
Materials Needed
To build a DIY stone raised garden bed, you’ll need:
- Natural stone or bricks
- Mortar (optional for added stability)
- Trowel
- Level
- Gravel (for drainage)
Step-by-Step Instructions
- Choose Your Stone: Select stones that are flat and of similar size for easier stacking. Natural stone, brick, or even repurposed materials can be used.
- Prepare the Site: Clear the area and level the ground. If using mortar, mix it according to the instructions.
- Lay the First Layer: Start by laying the first layer of stone directly on the ground. Use a level to ensure it’s even.
- Build Up the Walls: Continue stacking stones, offsetting the seams for stability. If using mortar, apply it between layers to hold the stones together.
- Add Drainage and Soil: Once the walls are complete, add a layer of gravel at the bottom for drainage, then fill the bed with soil.
- Start Planting: Your stone raised garden bed is now ready for planting. Enjoy the natural beauty it adds to your garden.
DIY Log Raised Garden Bed

Rustic and Eco-Friendly
A log raised garden bed is an excellent choice for those who want a rustic, natural look. Using logs from fallen trees or sustainably sourced timber makes this an eco-friendly option as well.
Materials Needed
To build a DIY log raised garden bed, gather:
- Logs (preferably rot-resistant like cedar or redwood)
- Rebar or wooden stakes
- Chainsaw or hand saw
- Hammer or mallet
Step-by-Step Instructions
- Select and Cut Logs: Choose logs that are straight and of similar diameter. Cut them to the desired length for your bed.
- Position the Logs: Place the logs on the ground in the shape of your bed. Use rebar or wooden stakes to secure the logs in place, driving them into the ground at the corners.
- Stack Additional Layers: If you want a taller bed, stack additional logs on top, securing them with stakes or rebar as you go.
- Fill with Soil: Once the logs are secured, fill the bed with soil. The natural look of the logs will blend beautifully with your garden.
- Plant Your Garden: With the bed filled, it’s time to plant. The logs will break down over time, enriching the soil with organic matter.
Conclusion: Choosing the Right DIY Raised Garden Bed
Building a DIY raised garden bed is a fulfilling project that enhances your garden’s functionality and beauty. Whether you opt for the classic look of a DIY raised cedar garden bed, the modern appeal of DIY raised garden beds with corrugated metal, or the rustic charm of a DIY log raised garden bed, you’ll be creating a sustainable space that will serve you for years to come.
Frequently Asked Questions (FAQs)
1. What is the best material for a raised garden bed?
The best material depends on your needs and aesthetic preferences. Cedar and redwood are great for their natural rot resistance, while galvanized steel offers durability and a modern look. Concrete and stone are long-lasting and can withstand harsh weather conditions.
2. How deep should a raised garden bed be?
A raised garden bed should be at least 6 to 12 inches deep to accommodate most plants. However, deeper beds (18 to 24 inches) are recommended for root vegetables like carrots and potatoes.
3. Do I need to line my raised garden bed?
Lining your raised garden bed with landscape fabric can help prevent weeds and keep the soil from washing out. However, it’s not always necessary, especially if you’re using a non-toxic, untreated material like cedar.
4. How do I prevent weeds in my raised garden bed?
Use landscape fabric or cardboard at the bottom of your bed to block weeds from growing up. Additionally, applying a thick layer of mulch on the soil surface can help suppress weed growth.
5. Can I build a raised garden bed on concrete?
Yes, you can build a raised garden bed on concrete. Ensure the bed is deep enough to accommodate plant roots, and consider adding a layer of gravel or small rocks at the bottom to improve drainage.
6. How long do raised garden beds last?
The lifespan of a raised garden bed depends on the materials used. Cedar beds can last 10 to 15 years, while galvanized steel and concrete beds can last several decades. Regular maintenance, like reapplying sealants or replacing damaged parts, can extend the life of your bed.


