Table of Contents
Raised garden beds offer gardeners a practical and aesthetically pleasing way to grow vegetables, flowers, and herbs. Not only do they provide better soil control and improved drainage, but they also make gardening more accessible. To optimize your raised garden bed, consider adding features like a deer fence, trellis, irrigation, cover, greenhouse, or shade. These additions can significantly enhance your gardening success, ensuring that your plants thrive throughout the growing season.
Why Choose a Raised Garden Bed?
Raised garden beds are an excellent choice for both novice and experienced gardeners. They offer several benefits, including:
- Improved Soil Quality: You have full control over the soil composition, allowing for richer, more fertile growing conditions.
- Better Drainage: Raised beds naturally drain better, preventing waterlogged soil that can harm plant roots.
- Easier Access: The elevated height reduces the need to bend over, making gardening more comfortable, especially for those with mobility issues.
- Extended Growing Season: The soil in raised beds warms up faster in the spring and cools down slower in the fall, providing a longer growing season.
- Pest and Weed Control: Raised beds are easier to manage when it comes to controlling pests and weeds, especially with the addition of a cover or fence.
DIY Raised Garden Bed with Deer Fence
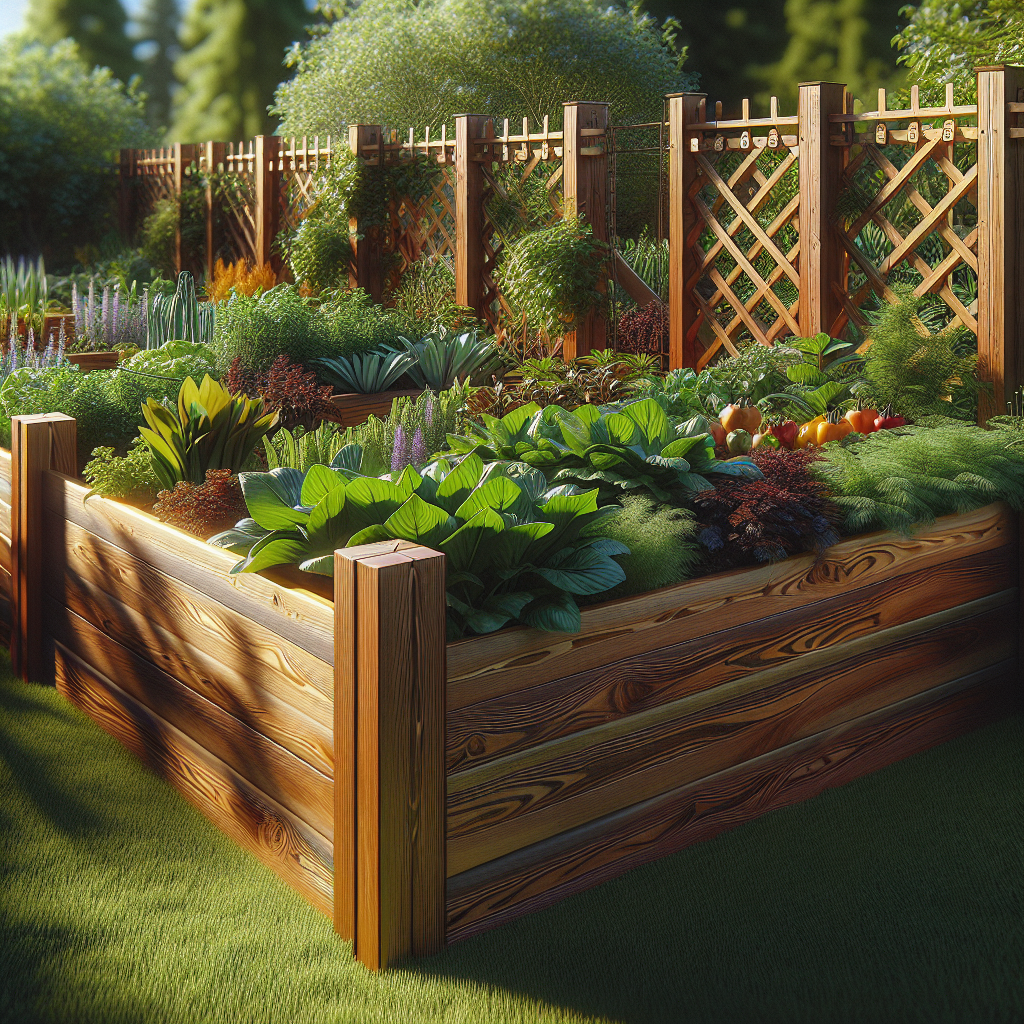
Deer are notorious for munching on garden plants, and a deer fence is a simple, effective solution. Building a DIY raised garden bed with a deer fence requires some basic materials and tools but can save you from losing your hard-earned produce.
Materials Needed:
- Wood for the bed frame (cedar is a popular choice for its durability)
- Deer netting or wire mesh
- Metal or wooden stakes
- Zip ties or wire for securing the fence
Steps:
- Build the Raised Bed: Construct your raised bed using the wood of your choice. Ensure the bed is sturdy and deep enough for the plants you intend to grow.
- Install the Stakes: Place stakes at each corner of the bed, ensuring they are tall enough to support the height of the deer fence (usually 6-8 feet).
- Attach the Netting: Secure the deer netting or wire mesh to the stakes using zip ties or wire, ensuring there are no gaps where deer could squeeze through.
- Secure the Fence: Make sure the bottom of the fence is snug against the bed frame to prevent deer from pushing under it.
This DIY solution is both cost-effective and efficient in keeping deer out of your garden.
DIY Raised Garden Bed with Trellis
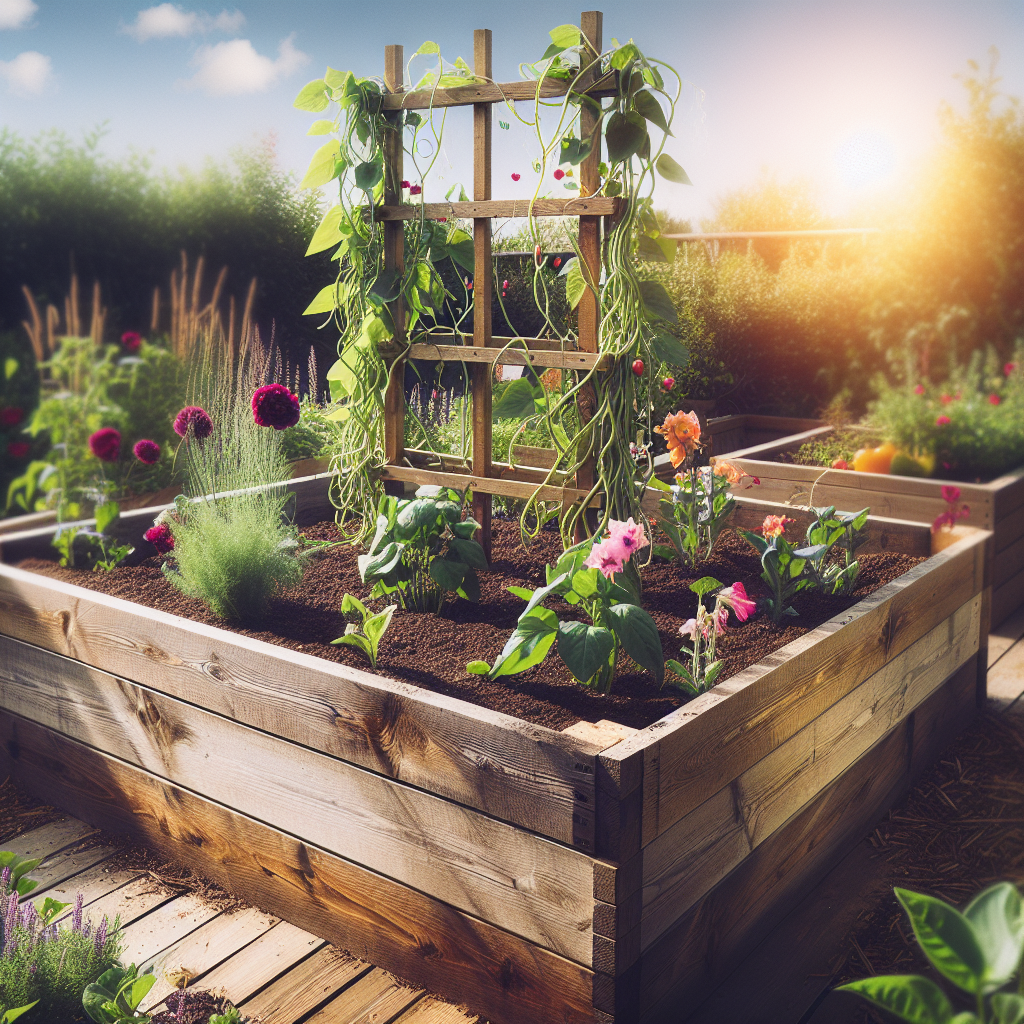
A trellis is an excellent addition to a raised garden bed, especially if you plan to grow climbing plants like tomatoes, cucumbers, or beans. A DIY raised garden bed with a trellis maximizes vertical space, allowing plants to grow upwards rather than sprawling out.
Materials Needed:
- Trellis material (wood, metal, or PVC pipes)
- Wood for the bed frame
- Screws and a drill
Steps:
- Construct the Raised Bed: Follow the same steps as building a basic raised garden bed.
- Build the Trellis: Depending on your chosen material, construct a trellis that fits the width of your bed. It should be tall enough to support the full height of your plants.
- Attach the Trellis: Secure the trellis to the back of the raised bed using screws or brackets. Ensure it is sturdy enough to hold the weight of your plants as they grow.
- Plant Your Garden: Position your climbing plants near the trellis, and guide them to start growing up it as they mature.
This setup not only supports plant growth but also adds an attractive visual element to your garden.
DIY Trellis for Raised Garden Bed
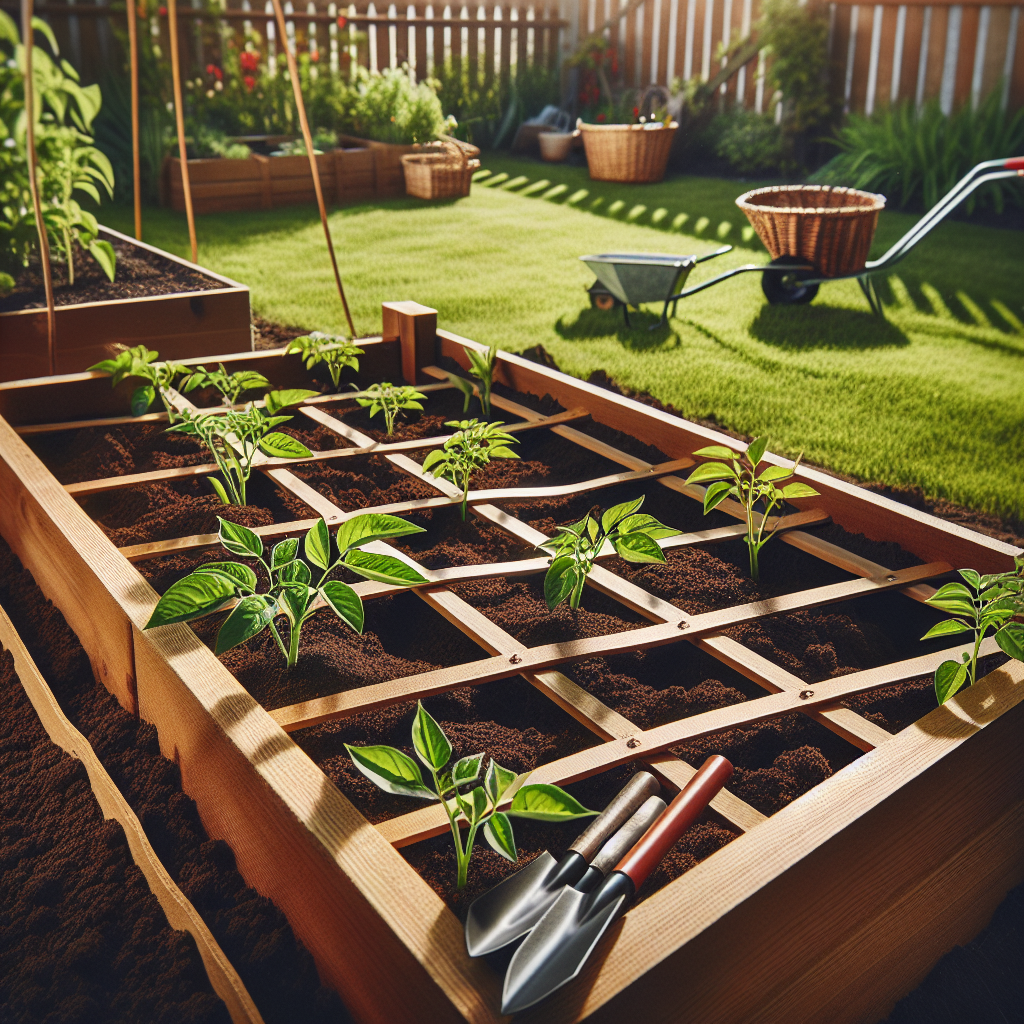
If you already have a raised garden bed and want to add a trellis, you can easily do so with some simple materials and a bit of time. A DIY trellis for a raised garden bed can be customized to suit your specific plants and garden design.
Materials Needed:
- Trellis material (wooden lattice, metal mesh, or bamboo stakes)
- Zip ties or garden twine
- Brackets (if needed)
Steps:
- Choose Your Trellis Material: Select a material that matches the aesthetic of your garden and the needs of your plants.
- Measure and Cut: Measure the width of your raised bed and cut the trellis material to fit.
- Attach the Trellis: If using a wooden lattice or metal mesh, attach it to the back of the bed using brackets. For bamboo stakes or similar materials, insert them directly into the soil at an angle and secure them together at the top with garden twine.
- Secure Plants: As your plants grow, gently tie them to the trellis to help guide their upward growth.
This simple addition can greatly improve the health and yield of your climbing plants.
DIY Raised Garden Bed Irrigation
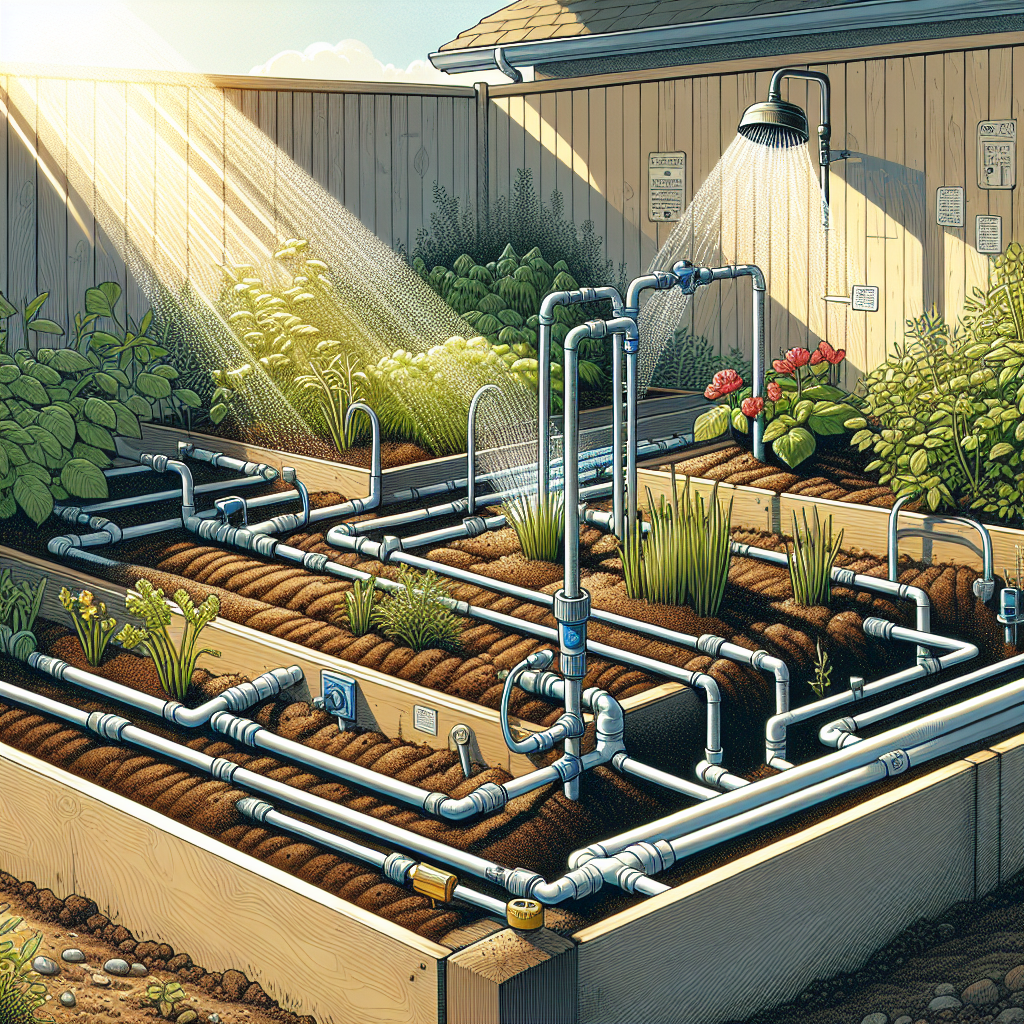
Proper watering is crucial for a healthy garden. A DIY raised garden bed irrigation system can automate the watering process, ensuring your plants receive consistent moisture without the need for daily watering.
Materials Needed:
- Soaker hoses or drip irrigation lines
- A timer (optional)
- Hose connector
- Mulch
Steps:
- Lay Out the Irrigation Lines: Place soaker hoses or drip irrigation lines along the rows of your garden bed. Ensure they are evenly spaced to provide consistent coverage.
- Connect to a Water Source: Attach the hoses to a water source using a hose connector. If you’re using a timer, connect it between the water source and the irrigation system.
- Cover with Mulch: To reduce evaporation and improve water retention, cover the irrigation lines with a layer of mulch.
- Set the Timer: If using a timer, set it to water at optimal times, such as early morning or late evening, to minimize water loss through evaporation.
This system is efficient and can save you both time and water.
DIY Raised Garden Bed Cover
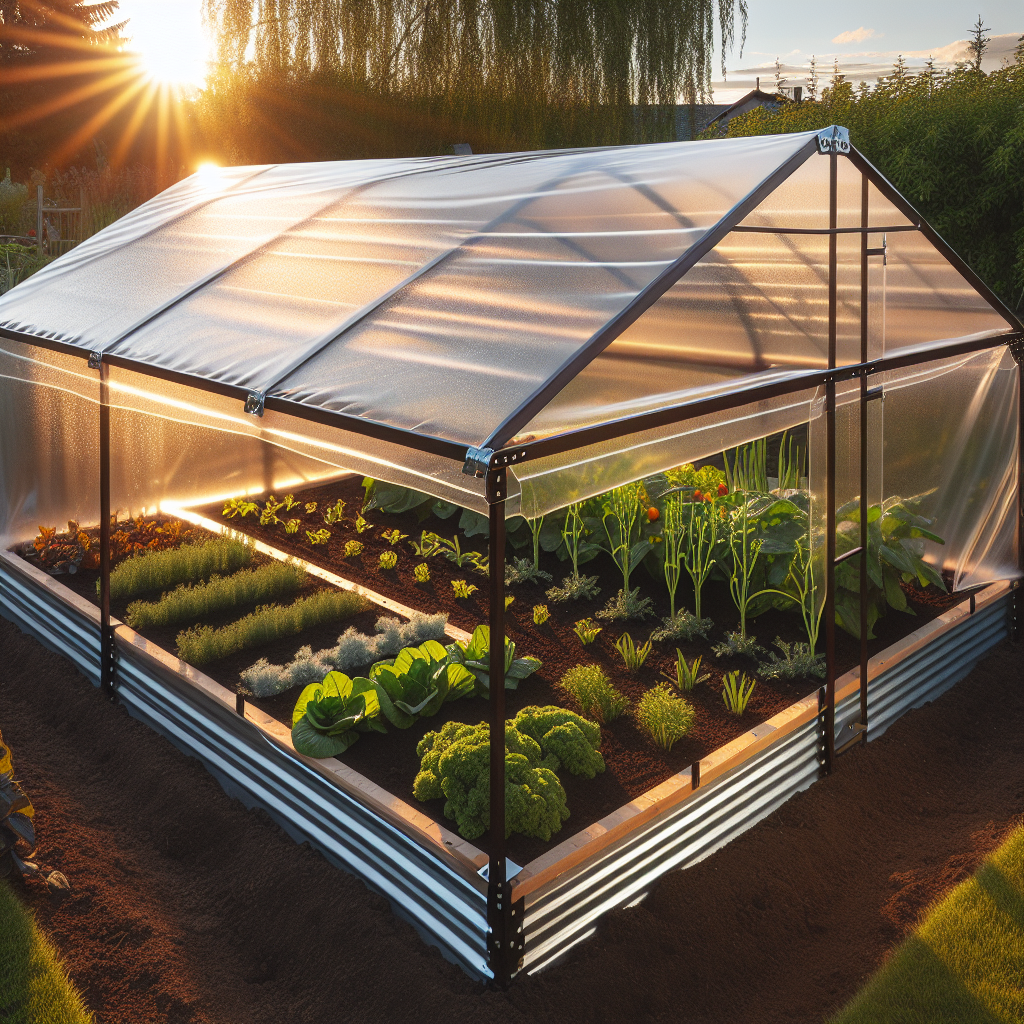
A cover for your raised garden bed can protect your plants from pests, extreme weather, and even extend your growing season by creating a mini-greenhouse effect. A DIY raised garden bed cover is easy to make and can be customized to fit your garden’s needs.
Materials Needed:
- PVC pipes or wooden frames
- Clear plastic sheeting or garden fabric
- Clamps or ties
Steps:
- Build the Frame: Create a hoop frame by bending PVC pipes over your garden bed and securing them in the soil. Alternatively, build a rectangular frame using wooden planks.
- Attach the Cover: Drape the plastic sheeting or garden fabric over the frame and secure it with clamps or ties. Ensure that the cover is taut but not too tight, allowing room for plant growth.
- Ventilation: On warmer days, lift the cover to allow air circulation and prevent overheating.
- Seasonal Adjustment: In colder months, keep the cover on to protect against frost. In warmer months, consider using a lighter fabric or removing the cover during the day.
This DIY project is perfect for protecting your garden from environmental stressors.
DIY Raised Garden Bed Greenhouse
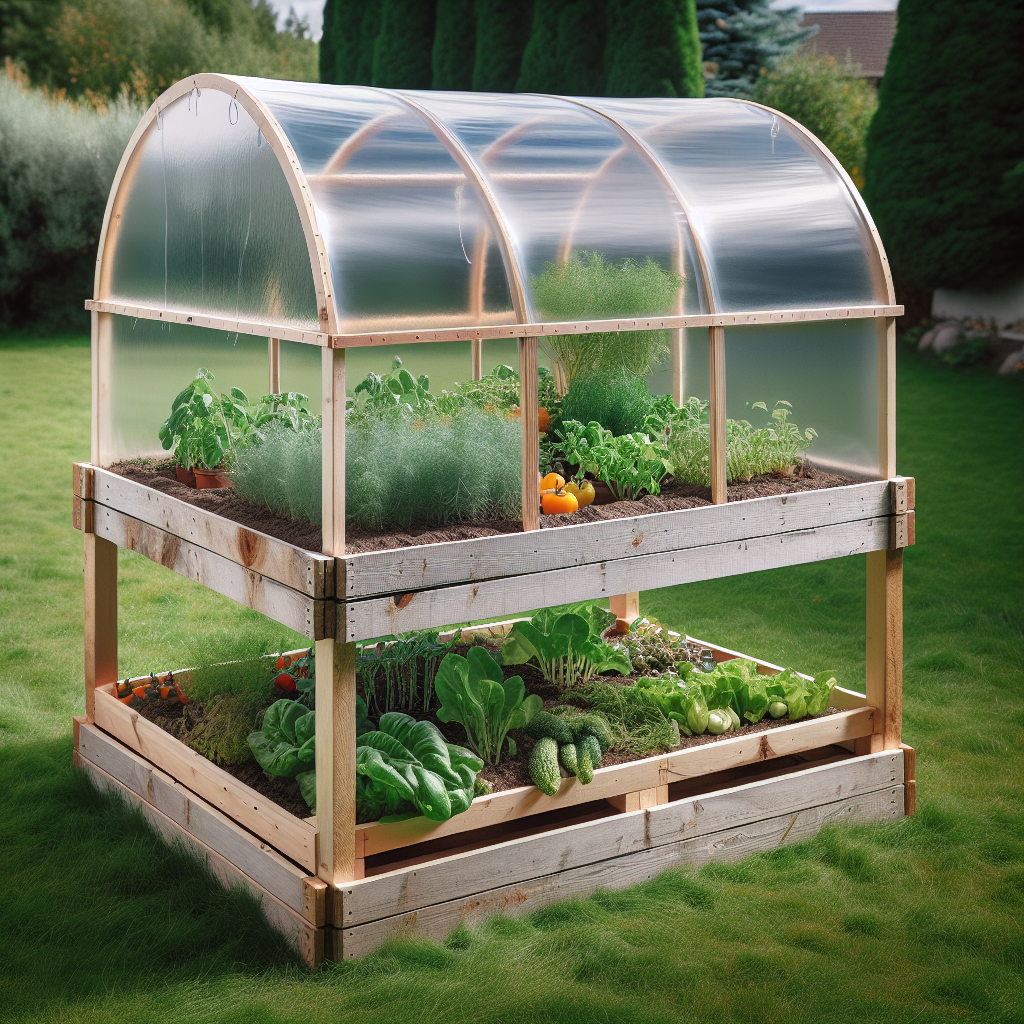
For those looking to extend their growing season or start plants earlier in the year, a DIY raised garden bed greenhouse is an ideal solution. It creates a controlled environment that shields plants from cold and pests while providing optimal growing conditions.
Materials Needed:
- Clear plastic sheeting
- PVC pipes or wooden frames
- Hinges and screws (if building a hinged cover)
- Zip ties or clamps
Steps:
- Construct the Frame: Build a frame over your raised bed using PVC pipes bent into hoops or a wooden structure. Ensure the frame is sturdy enough to withstand wind and snow.
- Cover the Frame: Drape clear plastic sheeting over the frame, securing it with zip ties or clamps. Ensure the plastic is tight enough to avoid sagging but loose enough to open for ventilation.
- Install Hinges (Optional): For easier access, you can install hinges on one side of the frame, creating a flap that can be opened for tending to plants.
- Ventilation: Like with a raised bed cover, proper ventilation is crucial. Open the greenhouse during warmer days to prevent overheating.
This DIY greenhouse is a great way to ensure year-round gardening success.
DIY Shade for Raised Garden Beds
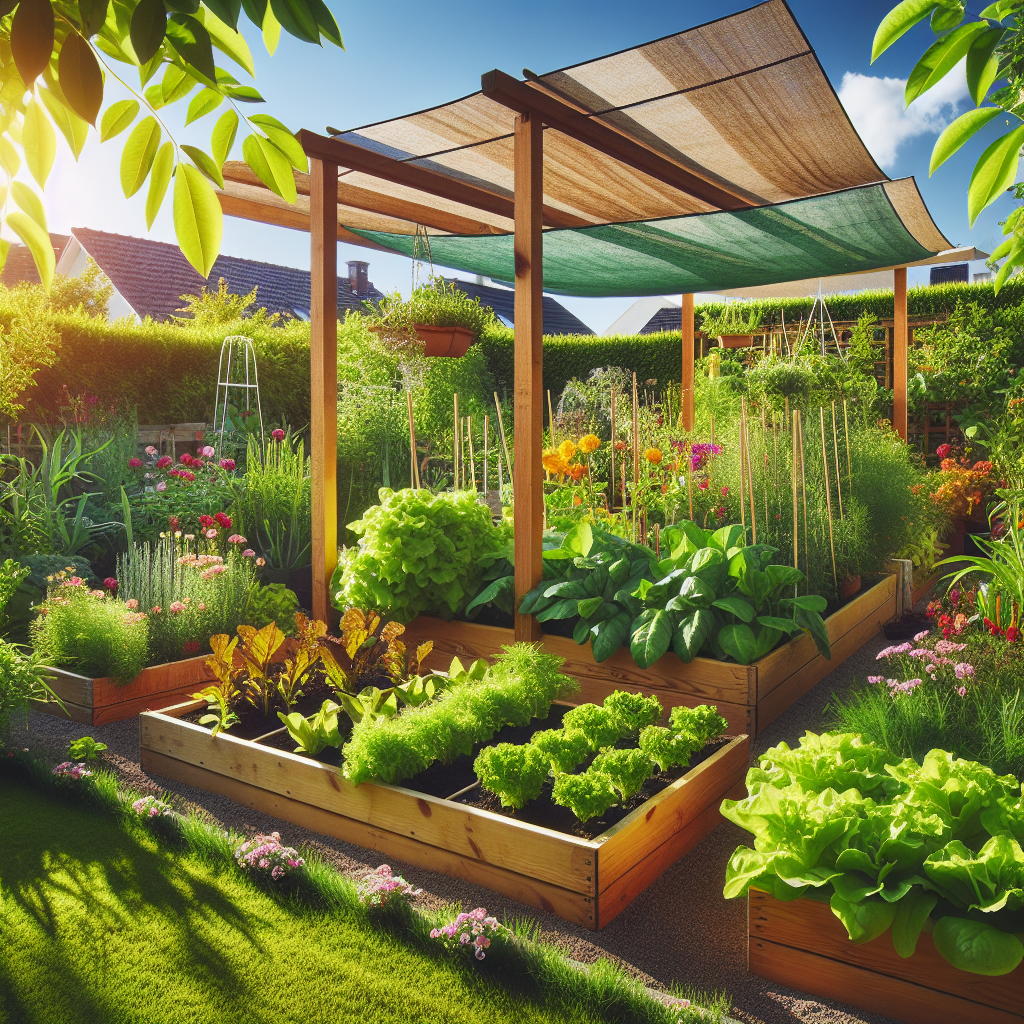
In hot climates, providing shade for your garden can prevent plants from wilting and improve their overall health. A DIY shade for raised garden beds can be as simple as draping shade cloth over a frame.
Materials Needed:
- Shade cloth
- Wooden stakes or PVC pipes
- Zip ties or garden twine
Steps:
- Install the Stakes: Place stakes at each corner of your raised bed, ensuring they are tall enough to support the shade cloth.
- Attach the Shade Cloth: Drape the shade cloth over the stakes, securing it with zip ties or garden twine. Make sure it covers the entire bed while allowing air circulation underneath.
- Adjust as Needed: Depending on the intensity of the sun, you may need to adjust the height or angle of the shade cloth throughout the day.
This simple solution can make a big difference in the health of your plants during the hottest months of the year.
FAQs
1. Can I use any type of wood for my DIY raised garden bed?
While you can technically use any wood, it’s best to choose a rot-resistant type like cedar or redwood. Avoid pressure-treated wood as it can leach chemicals into the soil.
2. How deep should a raised garden bed be?
Ideally, a raised garden bed should be at least 12 inches deep to allow for adequate root growth. However, the depth can vary depending on the type of plants you’re growing.
3. How often should I water my raised garden bed with an irrigation system?
The frequency of watering depends on your climate, soil type, and plant needs. Generally, watering once a day in the early morning is sufficient, but adjust as necessary.
4. Do I need a trellis for all types of plants?
No, a trellis is only necessary for climbing plants like beans, peas, and tomatoes. Root vegetables and low-growing plants don’t require a trellis.
5. Can I use a raised garden bed cover year-round?
Yes, but you may need to adjust the material based on the season. Use clear plastic for warmth in winter and a breathable fabric for shade in summer.
6. How do I prevent pests in my raised garden bed?
In addition to using a cover, consider adding companion plants that deter pests, like marigolds or garlic. Regularly check for signs of pests and remove them promptly.


