Table of Contents
Macrame, a craft that involves knotting cords to create intricate patterns, has made a big comeback in home decor. Whether you’re new to the art or a seasoned macrame enthusiast, creating your own DIY macrame projects is a fulfilling way to personalize your living space. From wall hangings to plant hangers, there’s a macrame project out there that will fit perfectly with your home decor style. This article explores the top 10 DIY macrame projects that can transform your home into a cozy, artistic haven.
1. Simple DIY Macrame Wall Hanging
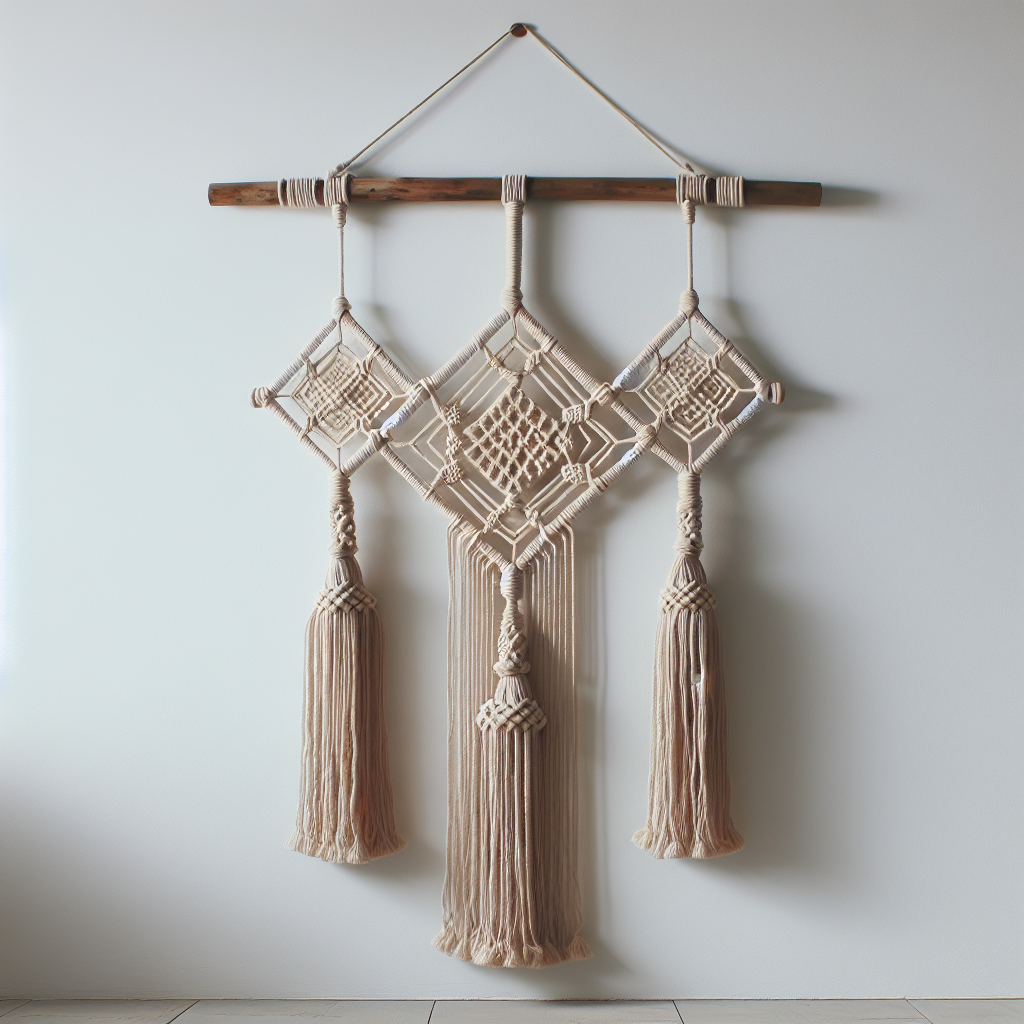
A simple macrame wall hanging is a great way to get started with macrame. With just a few basic knots, you can create a beautiful piece that adds texture and interest to any wall. Start with a dowel or a branch, and use cotton or jute cord to create your design. The beauty of a simple DIY macrame wall hanging is in its versatility; you can make it as small or large as you like, depending on the space you want to decorate.
Materials Needed:
- Cotton cord
- Wooden dowel or branch
- Scissors
Steps:
- Cut the Cord: Measure and cut several lengths of cord. The number of cords you cut will depend on the width of your dowel and the complexity of your design.
- Attach to Dowel: Fold each cord in half and loop it over the dowel to create a lark’s head knot.
- Create the Design: Use basic knots such as square knots and half-hitch knots to form your pattern.
- Finishing Touches: Trim the ends of the cords to your desired length, and consider adding beads or other embellishments for a unique touch.
2. DIY Macrame Plant Hanger
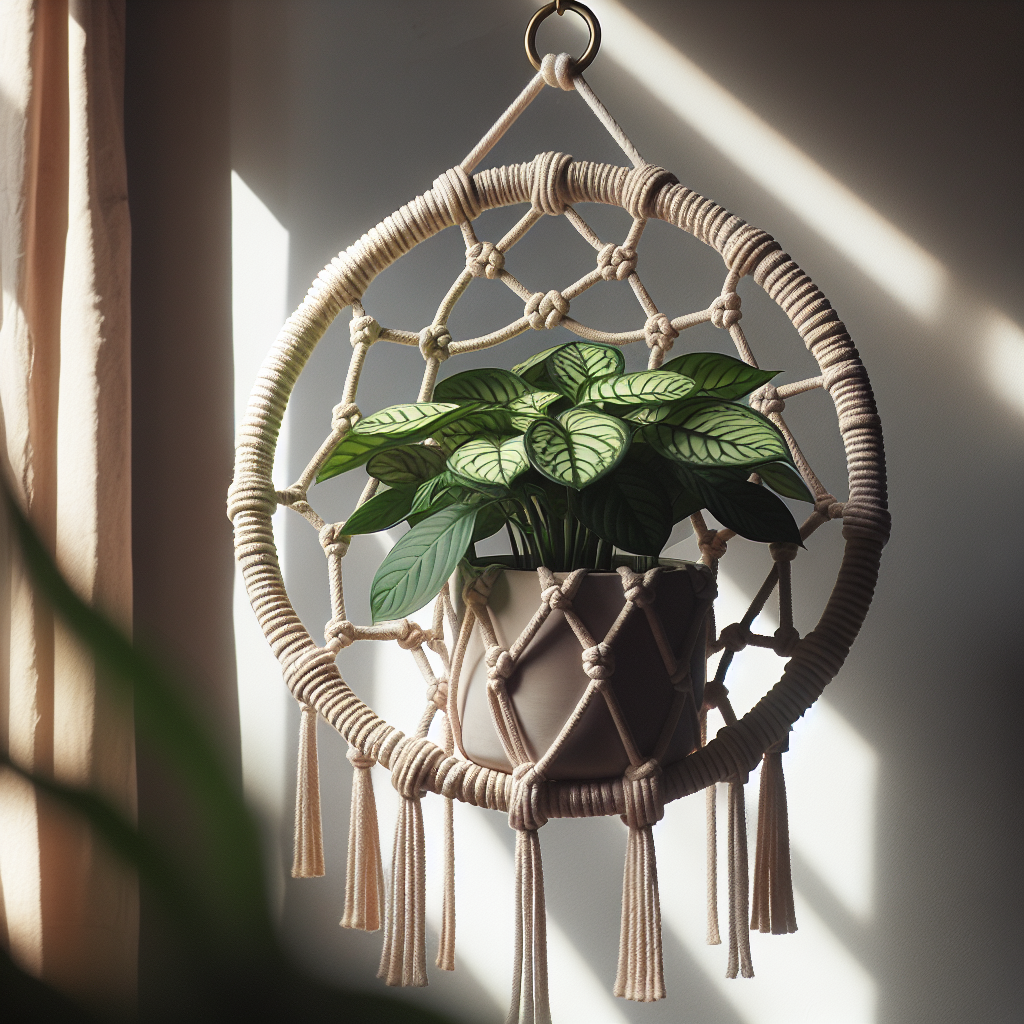
Bring some greenery into your home with a DIY macrame plant hanger. This project is not only decorative but also functional, allowing you to display your favorite plants in a stylish way. Macrame plant hangers are perfect for small spaces, as they make use of vertical space and can be hung from the ceiling or wall.
Materials Needed:
- Macrame cord
- Metal or wooden ring
- Scissors
- Potted plant
Steps:
- Cut and Arrange the Cords: Cut multiple cords to the desired length and attach them to the ring with a lark’s head knot.
- Knotting: Divide the cords into sections and create square knots and spiral knots to form the hanger.
- Form the Basket: Once you reach the desired length, knot the cords together at the bottom to create a basket for the plant pot.
- Add the Plant: Place your plant pot inside the basket and hang the macrame plant hanger in a spot with good light.
3. Boho-Chic Macrame Wall Hanging
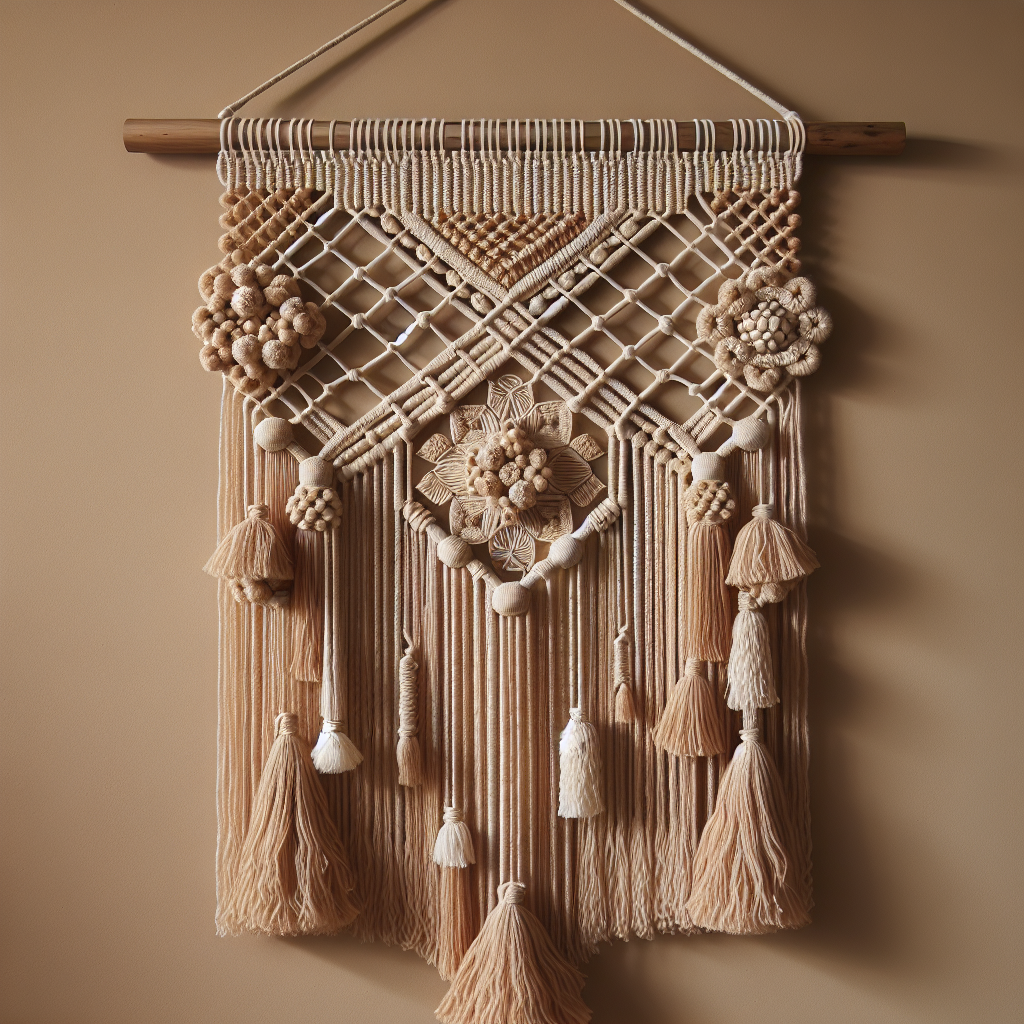
For those who love boho decor, a boho-chic macrame wall hanging is a must-try project. This style often features long, flowing fringe and a mix of intricate knots. The end result is a statement piece that adds a relaxed, artistic vibe to any room.
Materials Needed:
- Thick macrame cord
- Wooden dowel
- Beads (optional)
- Scissors
Steps:
- Prepare Your Materials: Cut your cords and attach them to the dowel with a lark’s head knot.
- Create a Pattern: Use a combination of square knots, clove hitch knots, and half-hitch knots to create a complex design.
- Add Fringe: To achieve the boho look, leave plenty of cord hanging at the bottom. You can also brush out the fringe to make it look fuller.
- Decorate: Consider adding beads to the design for extra flair.
4. DIY Macrame Dreamcatcher
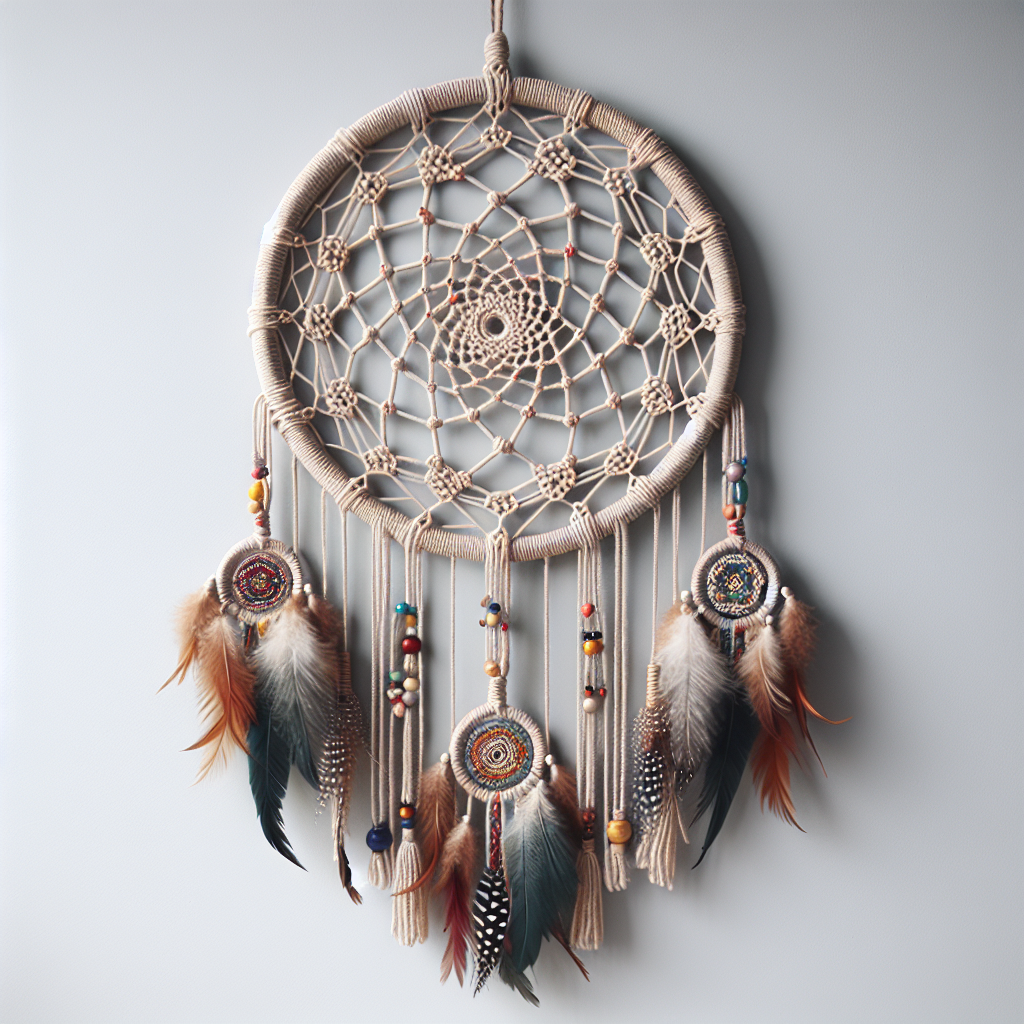
A macrame dreamcatcher combines the traditional dreamcatcher design with macrame techniques, resulting in a unique wall hanging. This project is great for adding a whimsical touch to your bedroom or living room.
Materials Needed:
- Metal or wooden ring
- Macrame cord
- Feathers and beads (optional)
- Scissors
Steps:
- Wrap the Ring: Start by wrapping the macrame cord tightly around the ring.
- Create the Web: Using a continuous piece of cord, create a web pattern inside the ring. This can be as simple or intricate as you like.
- Decorate: Add feathers, beads, or other embellishments to the bottom of the dreamcatcher for a personalized touch.
5. DIY Macrame Curtain
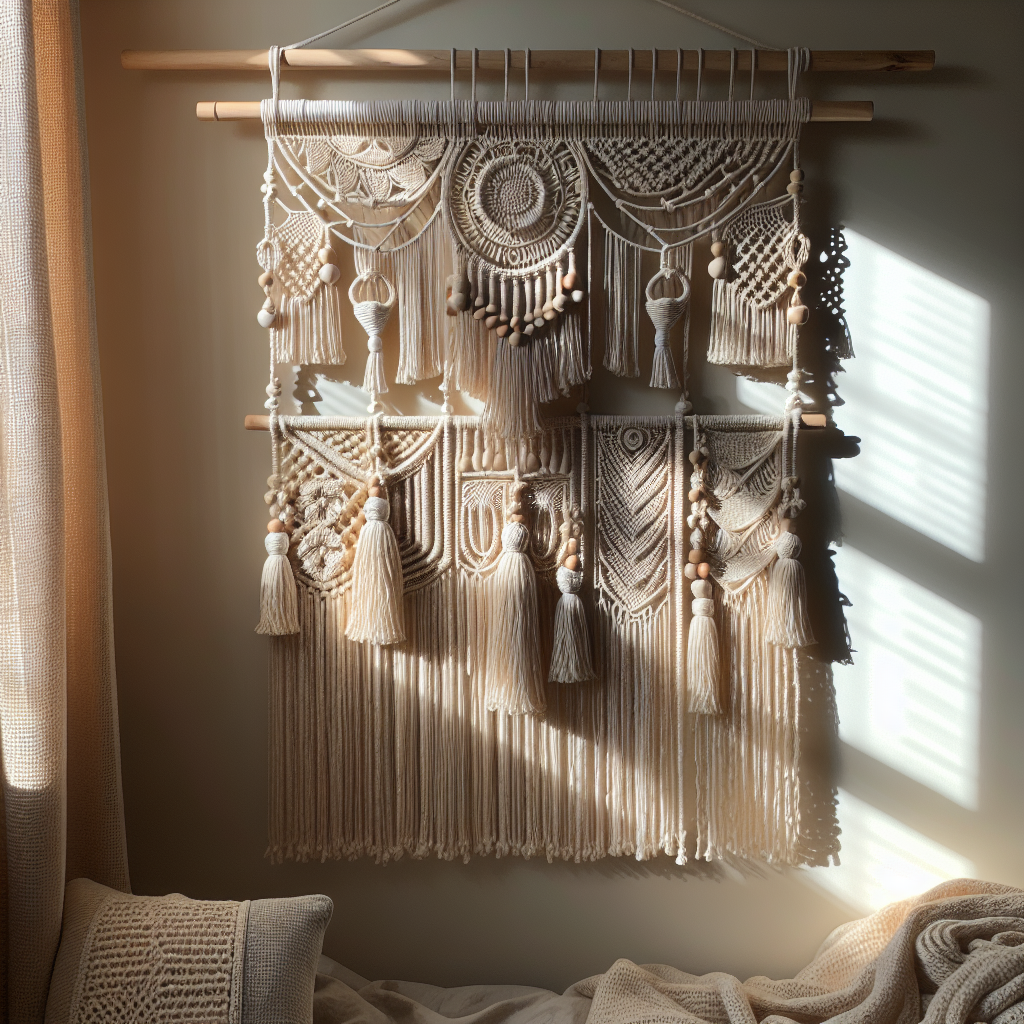
A macrame curtain can serve as a beautiful room divider or window treatment, adding both privacy and style. This project might take a bit more time and patience, but the result is a stunning piece of decor that is sure to impress.
Materials Needed:
- Large wooden dowel or curtain rod
- Macrame cord
- Scissors
Steps:
- Measure and Cut: Determine the size of the curtain and cut your cords accordingly. Attach them to the dowel or rod with lark’s head knots.
- Create Rows of Knots: Work in rows, using square knots and half-hitch knots to create your design. The pattern can be uniform or varied, depending on your preference.
- Finish the Curtain: Once you reach the desired length, trim the ends of the cords and hang your new macrame curtain.
6. DIY Macrame Wall Shelf
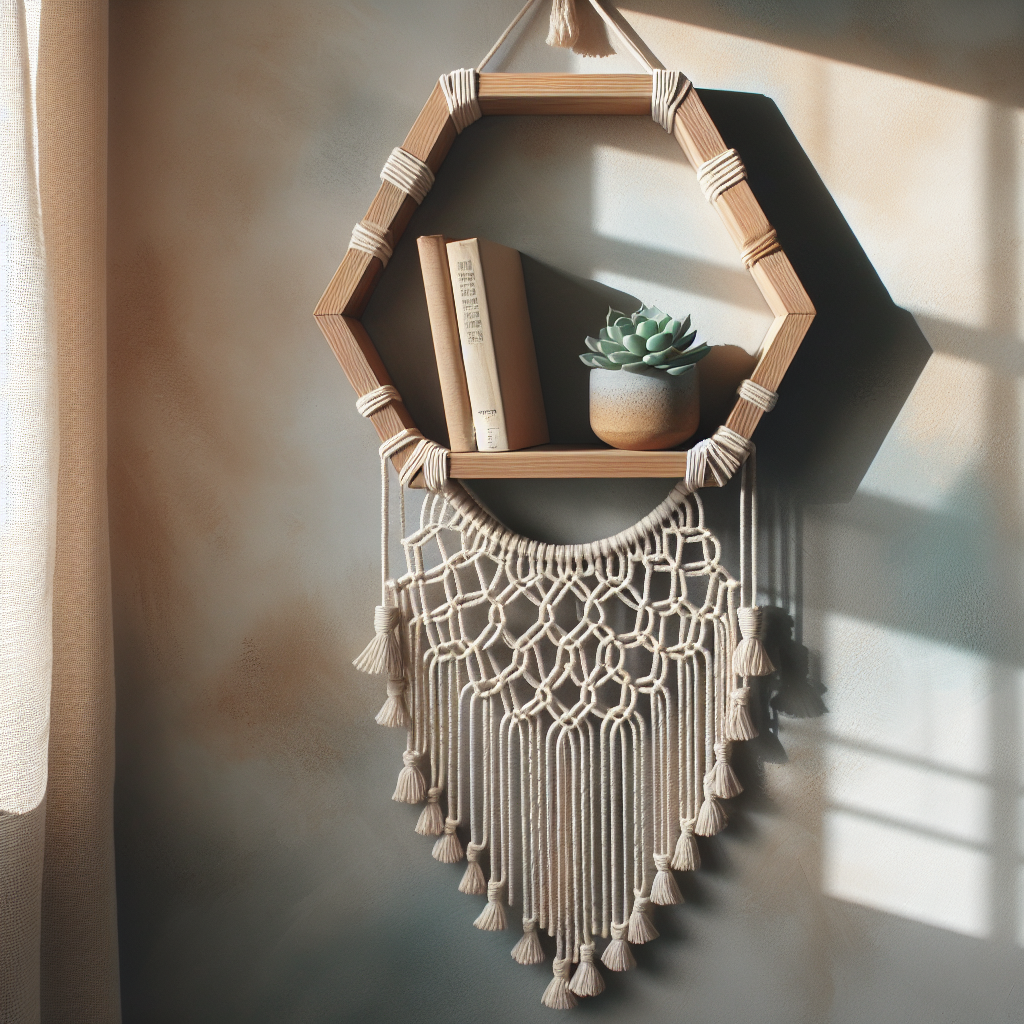
For a functional piece of decor, try making a DIY macrame wall shelf. This project combines the beauty of macrame with the practicality of shelving, perfect for displaying small plants, books, or decorative items.
Materials Needed:
- Wooden shelf (pre-drilled)
- Macrame cord
- Scissors
- Metal rings (optional)
Steps:
- Prepare the Shelf: Cut cords to the desired length and attach them to the corners of the shelf through the pre-drilled holes.
- Knotting: Create a series of knots to secure the shelf and form the hanging cords. You can use square knots and spiral knots for this purpose.
- Hang the Shelf: Attach the cords to a metal ring or directly to a wall hook and adjust for balance.
7. DIY Macrame Table Runner
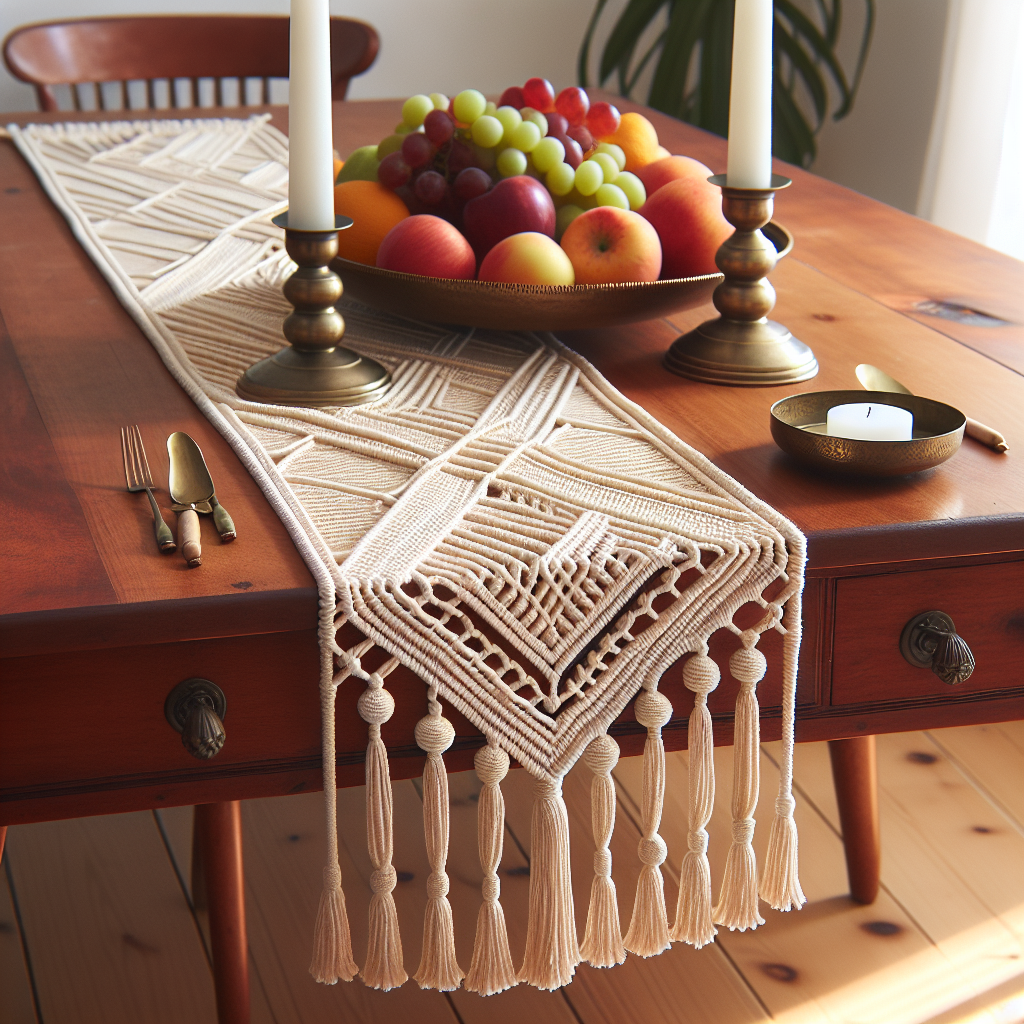
A macrame table runner is an elegant addition to any dining table. This project can be as simple or complex as you want, depending on your skill level and the design you choose.
Materials Needed:
- Macrame cord
- Scissors
- Measuring tape
Steps:
- Measure the Table: Determine the length and width of your table and cut cords to size.
- Attach the Cords: Start by attaching the cords to a dowel or working directly on the table if it’s a temporary piece.
- Weave the Pattern: Create your pattern using a combination of square knots and diagonal clove hitch knots. You can keep it simple or add layers of complexity.
- Finish: Trim the ends of the cords to the desired length and add fringe if you like.
8. DIY Macrame Headboard
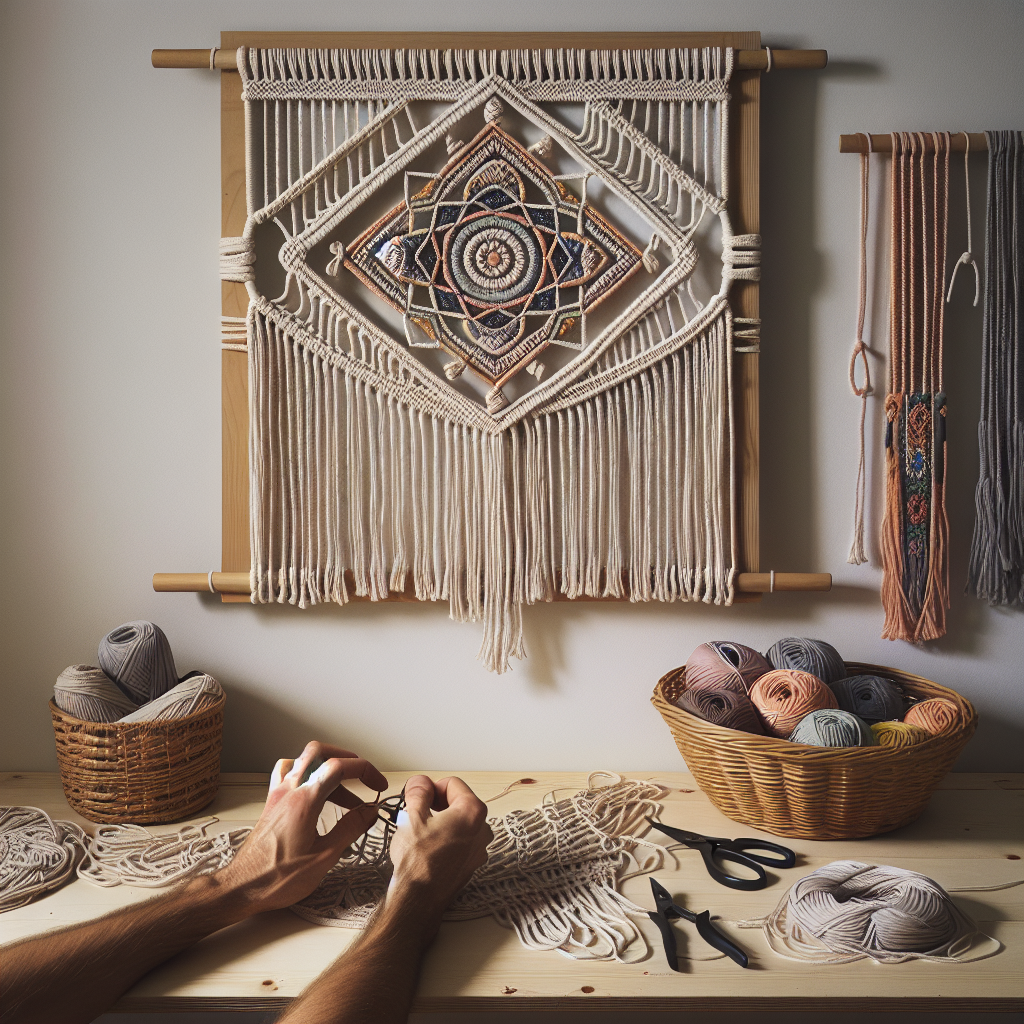
Transform your bedroom with a DIY macrame headboard. This project is ideal for adding a cozy, bohemian touch to your sleeping space.
Materials Needed:
- Large wooden dowel or curtain rod
- Macrame cord
- Scissors
Steps:
- Attach the Cords: Cut your cords to the desired length and attach them to the dowel with lark’s head knots.
- Design the Headboard: Use a variety of knots to create a pattern that spans the width of your bed. Consider incorporating diamonds, triangles, or other geometric shapes.
- Hang the Headboard: Secure the dowel to the wall at the desired height, and enjoy your new macrame headboard.
9. DIY Macrame Light Pendant
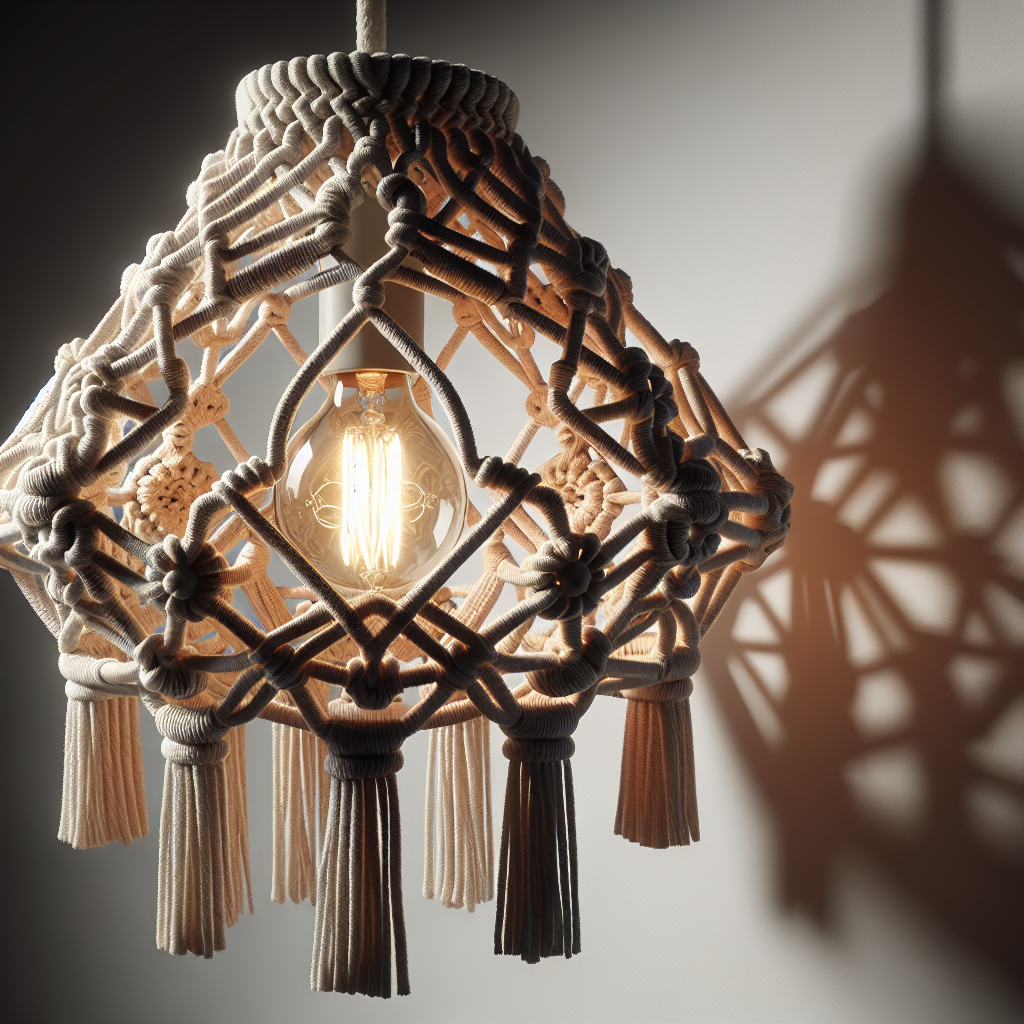
A macrame light pendant adds a warm, handmade touch to any room. This project involves creating a macrame cover for a light fixture, which can be a unique statement piece in your home.
Materials Needed:
- Macrame cord
- Metal ring (optional)
- Light fixture
- Scissors
Steps:
- Prepare the Cords: Cut the cords to the appropriate length and attach them to the metal ring or directly to the light fixture.
- Weave the Design: Create a series of knots to form a cover for the light fixture. You can make the design as tight or loose as you like, depending on how much light you want to filter through.
- Install: Attach the macrame light pendant to the ceiling and install the light bulb.
10. DIY Macrame Chair
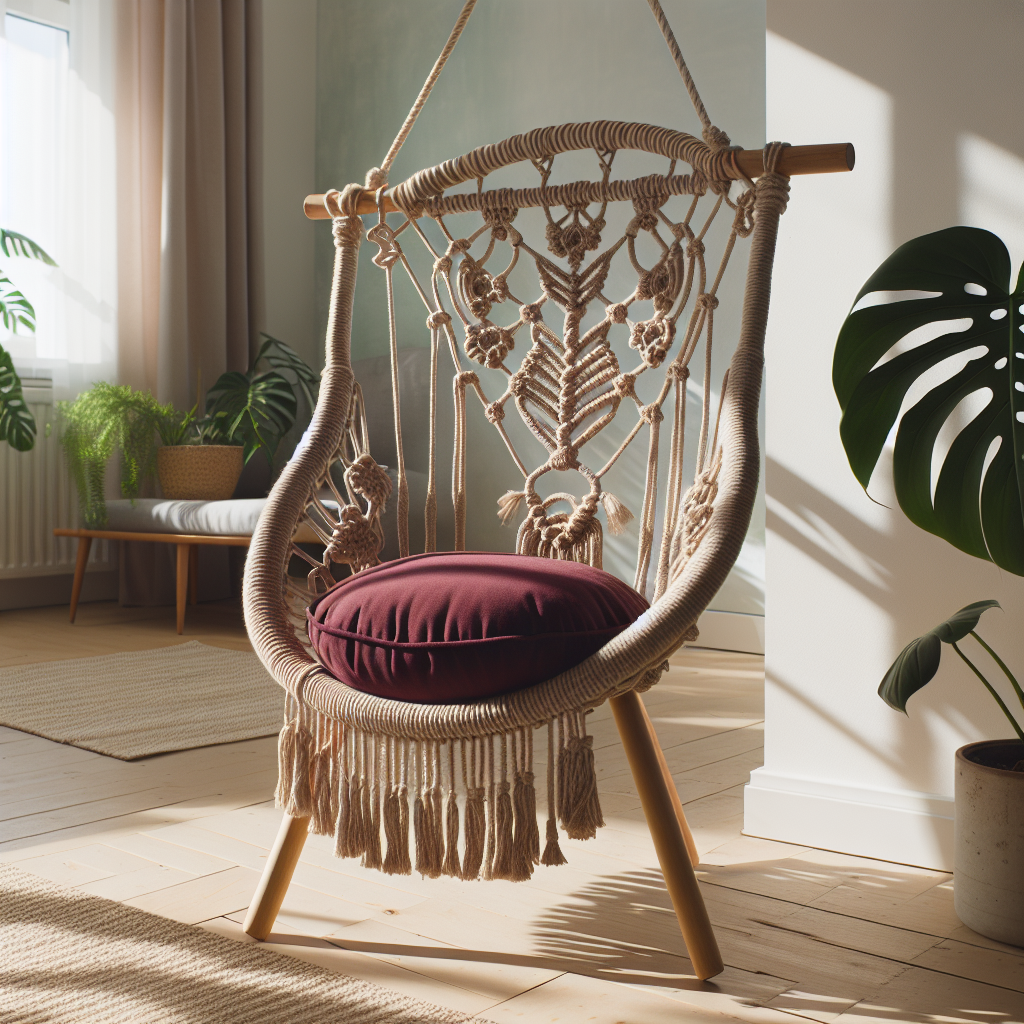
For a truly unique piece of furniture, consider making a DIY macrame chair. This project is more advanced but results in a stunning and comfortable addition to your home decor.
Materials Needed:
- Wooden chair frame
- Macrame cord
- Scissors
- Upholstery foam (optional)
Steps:
- Prepare the Frame: Start with a sturdy wooden chair frame. If you don’t have one, you can often find vintage frames at thrift stores.
- Weave the Seat: Use strong macrame cord to weave the seat and back of the chair. Incorporate a variety of knots to create a durable and comfortable design.
- Add Cushioning: For added comfort, you can use upholstery foam or cushions.
FAQs About DIY Macrame Projects
What type of cord is best for DIY macrame wall hanging?
The best cord for DIY macrame wall hanging is usually cotton cord because it’s soft, easy to work with, and available in various thicknesses. Jute and hemp are also popular choices for a more rustic look.
How difficult are DIY macrame projects for beginners?
Many DIY macrame projects are beginner-friendly, especially those that use simple knots like the square knot or lark’s head knot. As you become more comfortable with these basic knots, you can gradually try more complex designs.
Can I use colored cord for macrame projects?
Yes, using colored cord can add a unique touch to your macrame projects. You can find macrame cord in a variety of colors, or even dye your own cord to match your home decor.
How long does it take to complete a DIY macrame wall hanging?
The time it takes to complete a DIY macrame wall hanging depends on the size and complexity of the design. Simple projects can take a few hours, while more intricate pieces may take several days.
Do I need any special tools to start macrame?
No special tools are needed for macrame. Basic supplies include macrame cord, scissors, and a dowel or branch. Some projects might require additional items like beads or rings.
Can I wash my macrame wall hanging?
Yes, you can wash most macrame wall hangings. Hand washing with a mild detergent is recommended to keep the cords from fraying. Be sure to lay it flat to dry to maintain its shape.


